
Into The Hive Brood Hunt walkthrough
Last updated:
Brood Hunt takes you through a trail-following objective, a Brood Mother fight, and an escape to the drill pod. Bring a Pickaxe for blocked passages and turret support for the bugs surrounding the boss.
Follow the blue ground arrows and objective markers, digging through blocked rock with your Pickaxe. When THE BROOD MOTHER WAKES appears, deploy your turret and attack her while clearing nearby bugs and moving out of crowded passages. After THE BROOD MOTHER IS DEAD, follow Get to the drill pod, board when the doors open, and stay inside until Extracting.
Follow the trail, defeat Brood Mother and extract
Brood Hunt progresses through three objectives:
| Phase | Objective | Transition signal |
|---|---|---|
| Tracking | Follow the brood's trail | THE BROOD MOTHER WAKES |
| Boss fight | Kill the Brood Mother | THE BROOD MOTHER IS DEAD |
| Extraction | Get to the drill pod | GO → Extracting |
The death alert completes the hunt objective and starts extraction. Keep moving toward the pod: surviving bugs remain active after Brood Mother dies.
Prepare weapons and turret support
Bring a weapon you can keep aimed at Brood Mother, a turret to add supporting fire, and a Pickaxe to open the route. These combinations have completed four-player Brood Hunt runs:
| Environment | Weapons | Turret |
|---|---|---|
| Granite Caverns | AR-03 + PI-01 | Heavy Cannon |
| Caustic Sumps | AR-01 | Sentry |
AR-03, PI-01, and Heavy Cannon provide an early setup with two weapons and explosive turret support. AR-01 with Sentry provides a rifle setup with automatic cover against approaching bugs. Use the turret alongside your own shooting; return to a weapon after deployment.
In a squad, split attention between the boss and enemies closing on the team. Keep someone firing at Brood Mother while teammates clear nearby threats, then shift fire as space opens up. This keeps the boss fight advancing without letting the surrounding swarm trap the squad.
Follow the brood's trail
- Enter Brood Hunt and check the Follow the brood's trail counter in the mission panel.
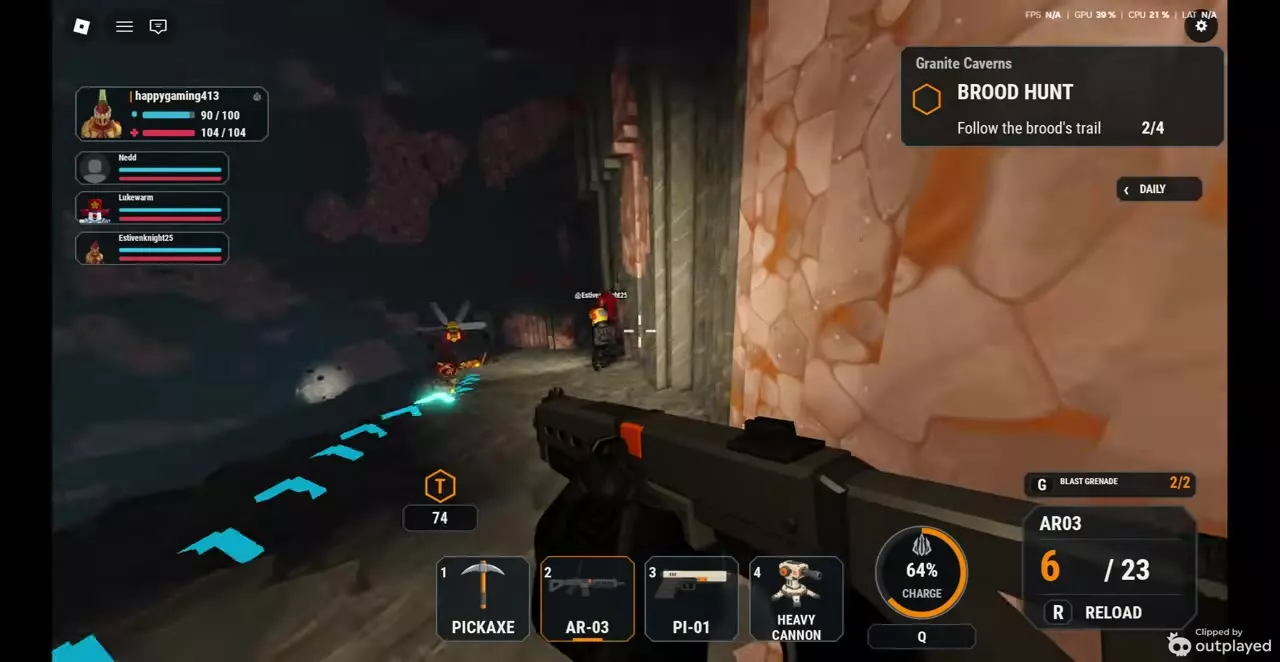
- Follow the blue arrows on the ground and the objective markers through the cave. Fight incoming bugs as you advance with your squad.
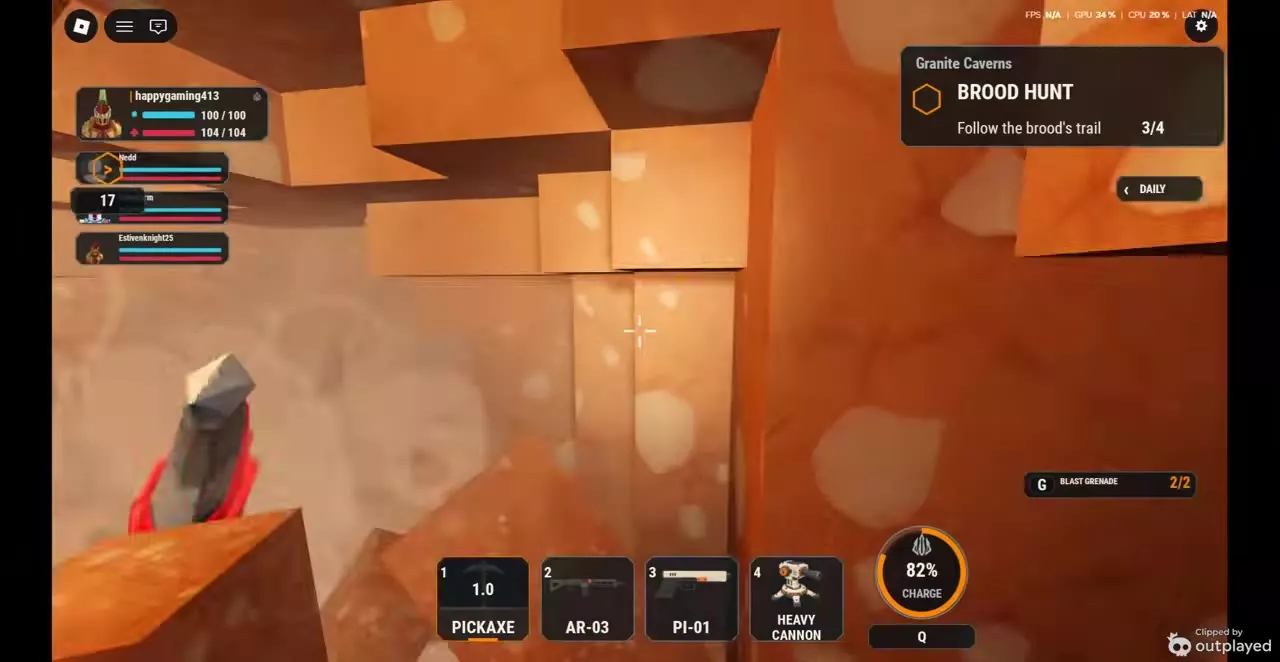
- When rock blocks the marked route, equip the Pickaxe and use the left mouse button to strike it repeatedly. Break a passage through, then continue toward the marker.
- When AMBUSH! Bugs are pouring in appears, clear the enemies pressing into your route and resume following the markers.
Use the counter in your current mission to track progress. A four-player Granite Caverns · Hard run begins at 0/4; a four-player Caustic Sumps example begins at 0/5. These are progress units for those mission examples, not instructions to collect four or five items.
Keep advancing until THE BROOD MOTHER WAKES appears. That alert marks the change from tracking to the boss objective.
Fight Brood Mother in open space
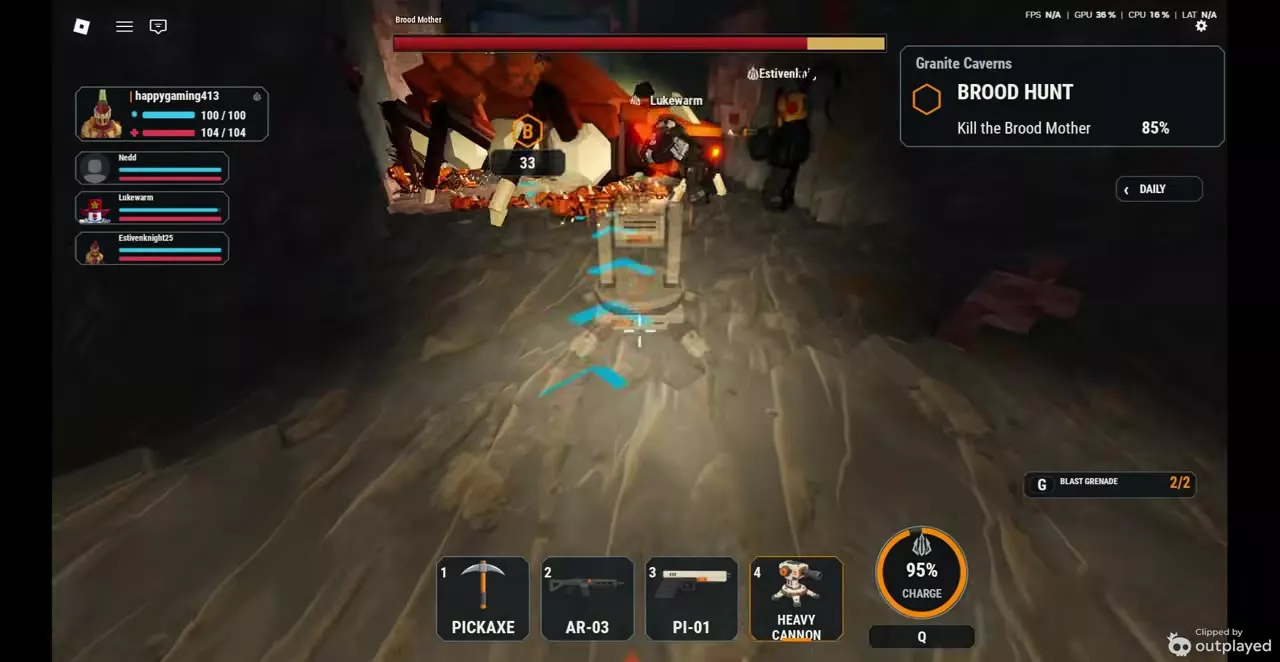
When Brood Mother wakes, a dedicated boss health bar appears and the mission panel changes to Kill the Brood Mother, with her remaining health shown as a percentage.
- Deploy Heavy Cannon or Sentry on the ground to support the fight, then switch back to your gun.
- Fire at Brood Mother and reload while moving. Use the boss bar and objective percentage to follow her remaining health.
- Clear enemies that close on your position. Brutes, Tunnel Diggers, Shieldbacks, and smaller bugs fight alongside her, so the boss is not the only immediate threat.
- Back out of a crowded passage into the open cavern when the swarm closes in. Use the extra room to reposition, reload, and resume attacking.
- Continue until THE BROOD MOTHER IS DEAD appears.
A narrow passage becomes dangerous when the boss and other bugs crowd the same approach. Retreat before they surround you, then keep shooting from a position with room to move. Leave turret fire working alongside your weapons rather than standing still beside the device.
Reach extraction after the death alert
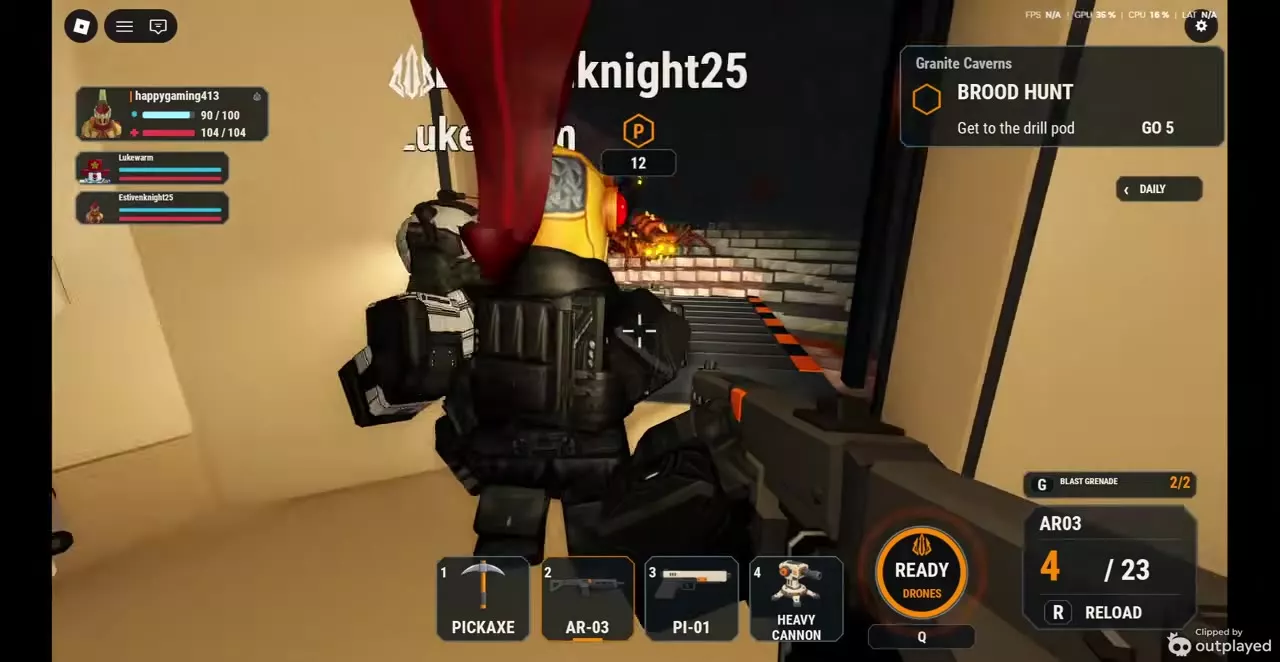
After the death alert, the objective changes to Get to the drill pod and an extraction countdown begins.
- Follow the blue ground arrows and orange destination marker toward the pod. Use your Pickaxe again wherever rock blocks the route.
- Shoot bugs obstructing your escape while continuing toward the destination. Killing Brood Mother does not clear the cave.
- At the destination, defend yourself while the pod arrives and its doors open. Bugs can climb the entrance ramp.
- Enter the cabin. Anywhere inside counts as boarding, and the players-aboard counter changes as teammates enter or leave.
- Stay inside through the GO countdown until the doors close and the objective changes to Extracting.
If the travel countdown reaches zero while you are at the destination waiting for the pod, keep defending the area and board when it opens. In the Granite Caverns Brood Hunt example, the pod arrives after that countdown ends and the squad still extracts.
Boss loadouts, layers and rewards
- Boss loadouts covers weapon, armor, and support choices for dividing boss damage and swarm control.
- Boss encounters lists encounter types and entry conditions. Brood Mother also appears in the Escort the Drill finale.
- Cave layers and unlock requirements explains the Rank and previous-layer boss requirements for layer selection.
- How to extract covers boarding and the early-return option when the Complete Mission? prompt appears.
- Mission payouts and bonuses explains Cash, Rank XP, recovered ore, equipment Mastery, and first-clear and weekly bonus eligibility.