
Into The Hive beginner guide
Last updated:
Your starting equipment already covers shooting, mining, and support. After Rusty's tutorial, prepare it at the depot, finish an expedition, and put the resources into equipment you plan to keep using.
Returning from the tutorial awards 1,000 Cash and one Equipment Token. Take the depot tour for two free Weapon Augments, then prepare AR-01, PI-01, Sentry, Blast Grenade, Pickaxe, and Starter Armor. Complete a mission and stay inside the extraction pod until Extracting. Prioritize AR-01's first two upgrades—650 Cash and 75 Bronze total—before saving for a weapon that adds a new combat role.
Collect your first-drop rewards and tour Augments
Complete the tutorial's extraction and return to the depot. The First drop complete notification awards 1,000 Cash and one Equipment Token.
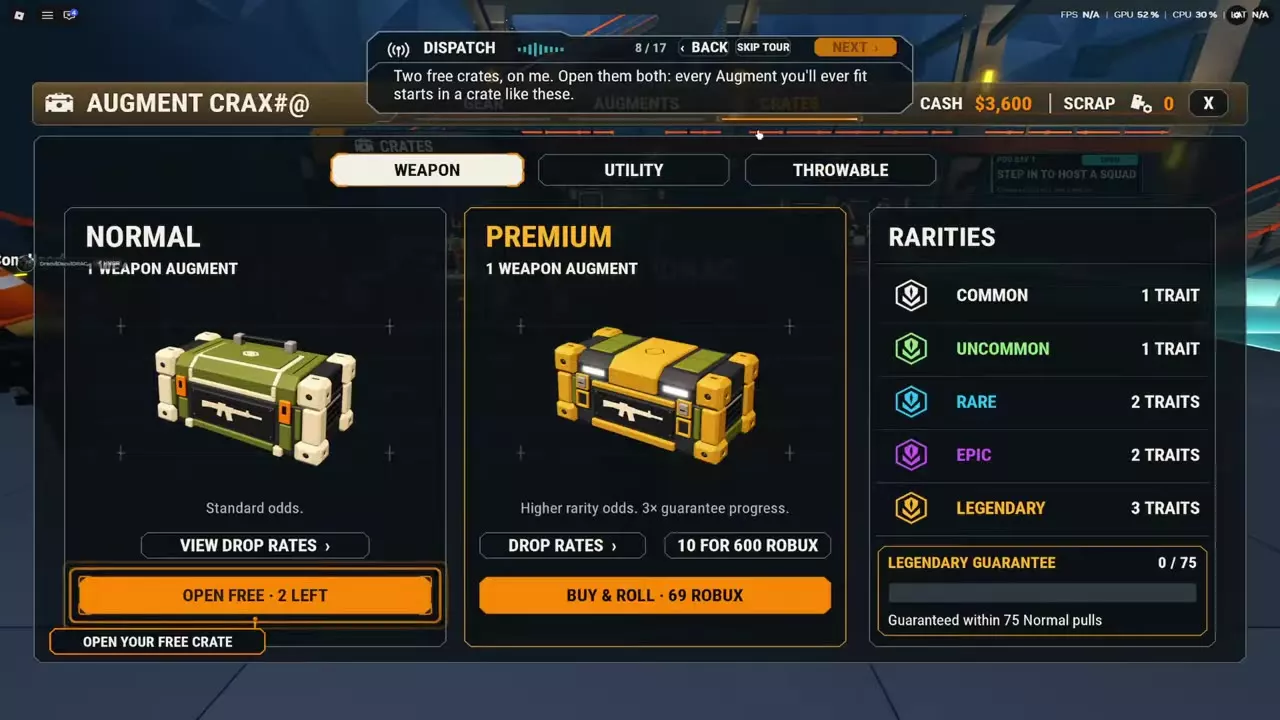
Start the lobby tour and follow its crate introduction:
- Open Equipment → Crates → Weapon.
- Select Open Free on the Normal Weapon Crate.
- Select Open Another to use the second free opening.
Each opening gives one Weapon Augment. Both free openings also advance Legendary Guarantee. Keep the Augments for installation on compatible equipment; you do not need to buy a new gun to use them.
Prepare your starting loadout
Open Loadout and keep the starting equipment while you learn the expedition loop. Each piece has a separate job:
| Equipment | Starting role |
|---|---|
| AR-01 | Main shooting weapon |
| PI-01 | Backup weapon |
| Sentry | Automatic cover |
| Blast Grenade | Grouped enemies |
| Pickaxe | Mining and excavation |
| Starter Armor | Initial armor |
Deploy Sentry where it can cover approaching bugs while you shoot or mine. Use Blast Grenade against clustered enemies, and switch to Pickaxe for ore deposits and blocked passages.
Choose a class for your preferred role
| Class | Personal bonus | Ultimate |
|---|---|---|
| Assault | +25% reload and recovery speed | Blade Drones |
| Engineer | +25% Utility Recovery | Missile Drones |
| Scout | +15% sprint speed | Laser Drones |
- Choose Assault for a rifle-focused start. Its recovery bonus supports continued gun use, while Blade Drones attack nearby enemies.
- Choose Engineer if you rely on Sentry coverage. Utility Recovery supports that equipment role, and Missile Drones add homing explosive attacks.
- Choose Scout for mobility. Its sprint bonus helps you reposition, and Laser Drones combine piercing attacks with temporary Air Walk.
Keep shooting while your drones are active. For squad-wide effects and further class comparisons, see Classes and squad passives.
Install usable Augments now
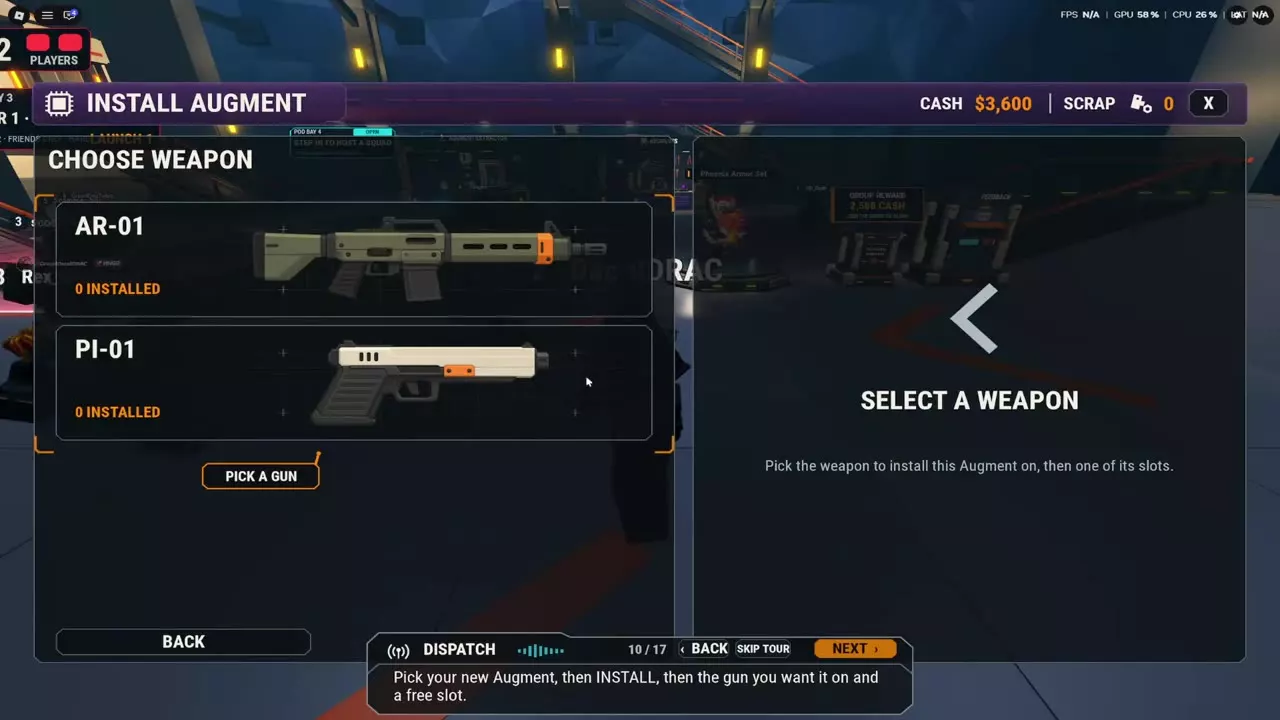
Open Equipment → Augments, select a compatible Weapon Augment, choose Install, then select the gun and an available slot. Use useful Common, Uncommon, or Rare Augments as you obtain them instead of waiting for a Legendary setup.
If you obtain a Rare Augment containing Weak Spot Damage III and Ricochet II, install it in AR-01's Slot 1. On a Level 3 AR-01 with 9 base damage, that configuration adds +35% weak-spot damage on weak-spot hits and a 25% chance for projectiles hitting rock to bounce once. Those effects belong to the installed Augment; upgrading the rifle does not grant them.
An Uncommon Augment containing Ricochet I is another early option for PI-01's Slot 1, giving projectiles hitting rock a 15% chance to bounce once.
Test equipment and choose a mission
Try equipment before committing your savings. The depot has two firing ranges where you can test weapons, utility equipment, and throwables, including locked items. Choose paper targets or live bugs from any layer and difficulty to compare handling against the targets you want to fight.
Then prepare your expedition:
- Check Daily Tasks and note objectives you can complete during the run.
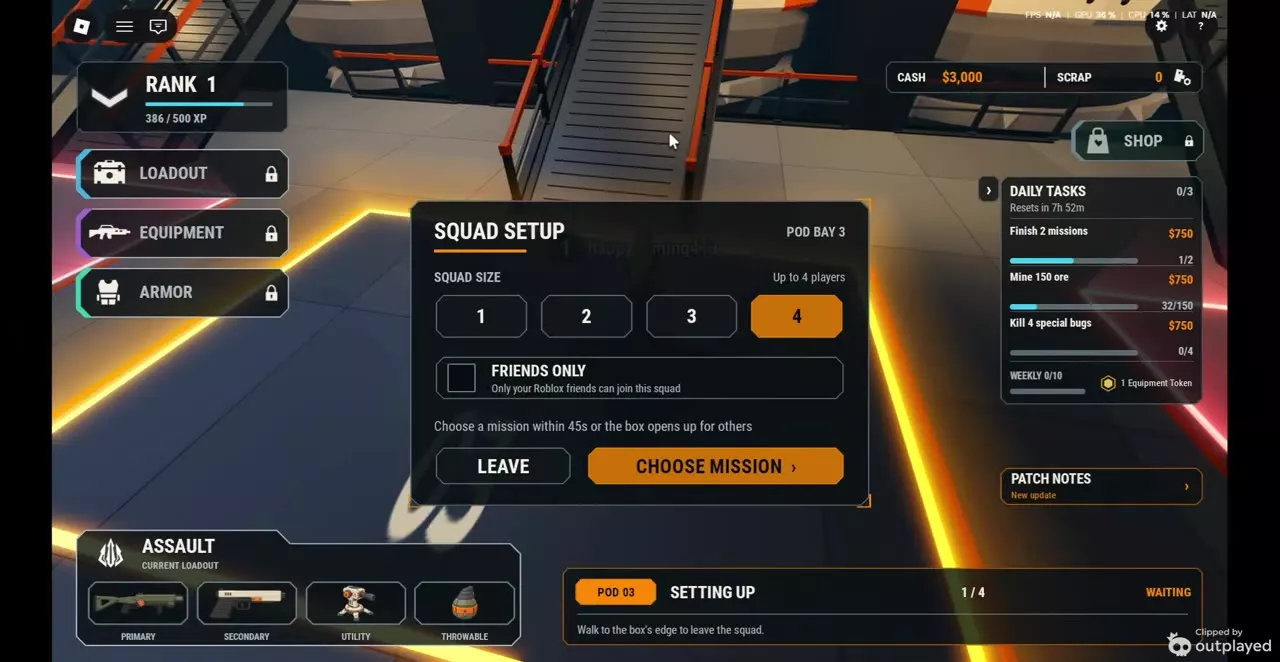
- Finish your loadout, equipment upgrades, and armor changes before entering the Pod Bay queue. Loadout, Equipment, Armor, and Shop lock while you are queued.
- Step into an open Pod Bay area to host a squad, or join an expedition. Select a squad size from 1–4; enable Friends Only if you want only Roblox friends to join.
- Select Choose Mission, read the objective, and choose an available difficulty.
For a first Layer 1 expedition, start on Normal. Completing a Normal mission in Layer 1 unlocks its Hard and Insane options. Nest Clearing gives you a direct objective: destroy the nests, then extract. Check Mission types when choosing between nest destruction, drilling, hunting, and escort objectives.
Complete the objective and extract with ore
Use the expedition to gather upgrade materials as well as finish the mission:
- Mine deposits with Pickaxe. Collected ore enters Squad Haul. Bronze is useful immediately for your early AR-01 upgrades.
- Follow the objective markers and arrows. Break obstructing rock with Pickaxe when the route passes through it.
- Deploy support before settling into a fight or mining spot. Sentry provides automatic cover while you use your guns or tools; use Blast Grenade when bugs bunch together.
- Complete the actual mission objective. In Nest Clearing, keep attacking the nests and confirm their destruction count. Killing the surrounding bugs alone does not finish the objective.
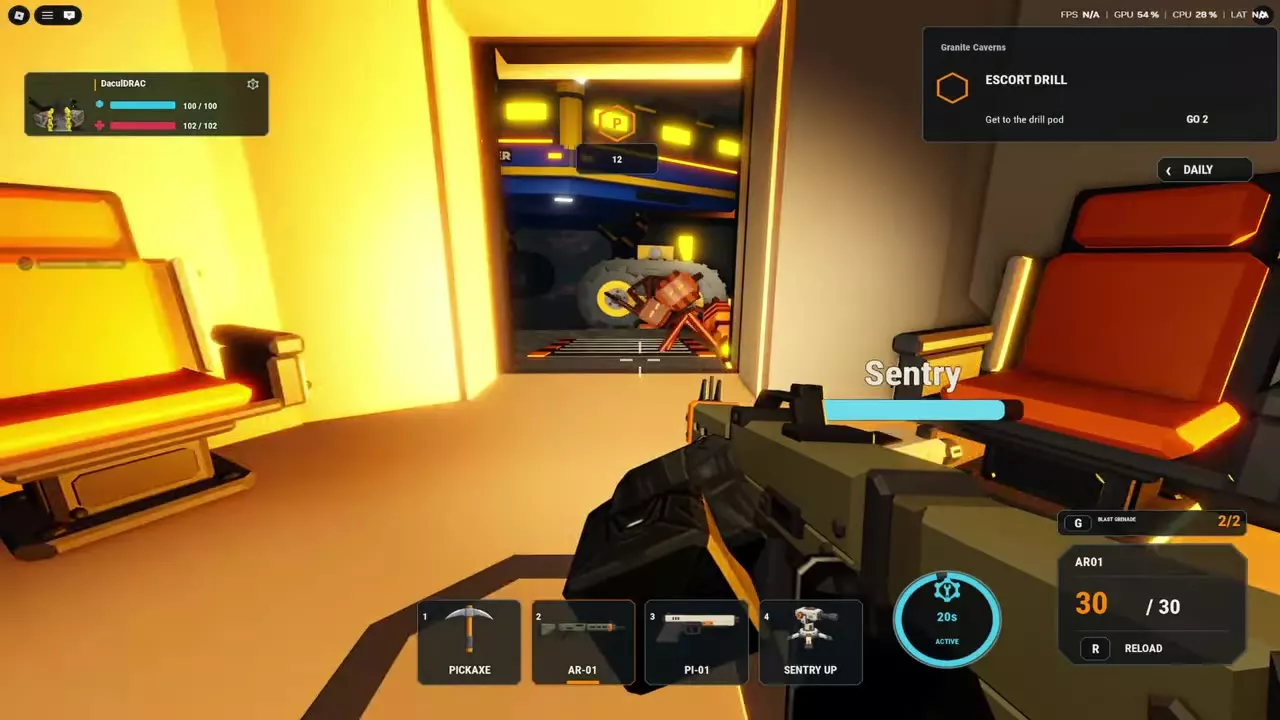
- Return when the objective changes to Get to the drill pod. Follow the blue ground arrows and orange destination marker, digging through blocked passages as needed.
- Enter the cabin and stay aboard. Wait for the pod to arrive and its door to open. Anywhere inside the cabin counts as boarding. Defend the entrance through the GO countdown until the doors close and the status changes to Extracting.
Bugs can climb the pod's ramp, so keep your weapon ready while waiting for departure. For the full return route and teammate boarding options, use the extraction guide.
Upgrade your rifle and save for a new role
Put your first weapon resources into the gun you actively use. For the starting loadout, upgrade AR-01 before spending on another weapon with a similar job.
Buy the first two AR-01 upgrades
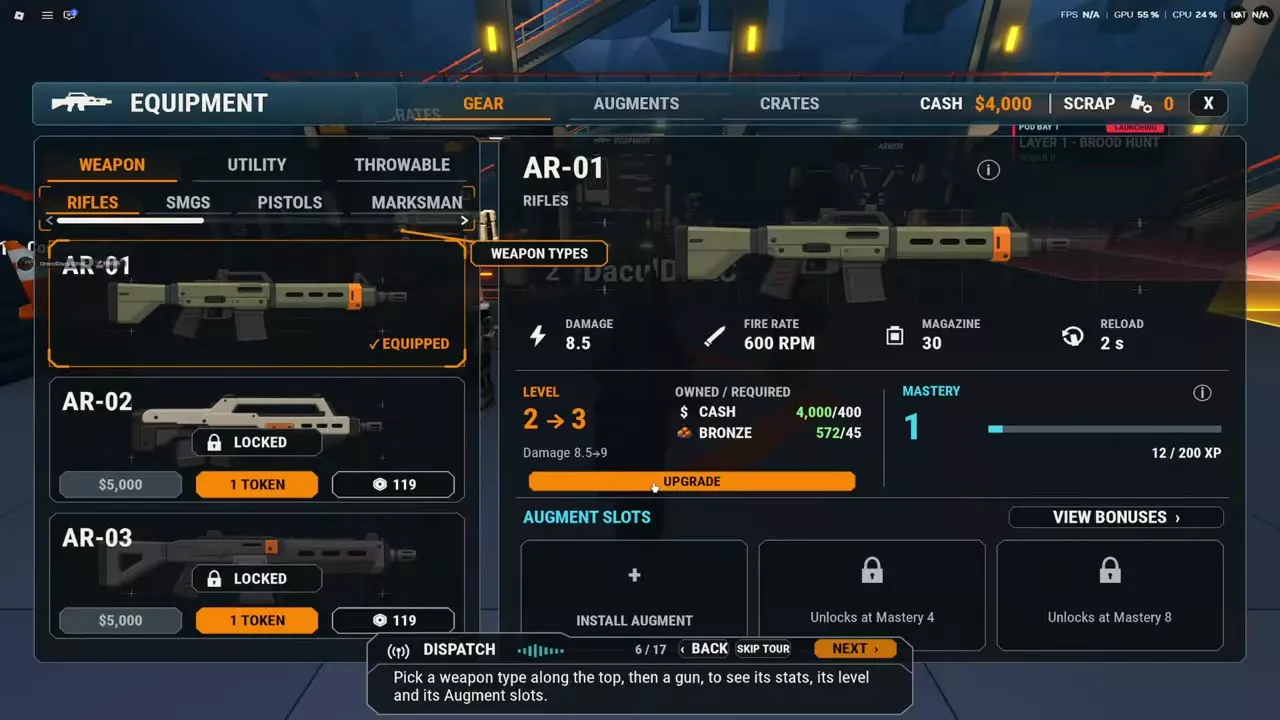
Open Equipment → Gear → Weapon → Rifles, select AR-01, and use Upgrade when you have both required resources.
| Upgrade | Cash cost | Bronze cost | Damage change |
|---|---|---|---|
| Level 1 → 2 | 250 Cash | 30 Bronze | 8 → 8.5 |
| Level 2 → 3 | 400 Cash | 45 Bronze | 8.5 → 9 |
| Two-upgrade total | 650 Cash | 75 Bronze | 8 → 9 |
Each upgrade consumes Cash and Bronze together. The next step, Level 3 → 4, costs 650 Cash and 65 Bronze and raises damage from 9 to 9.6. Compare that next investment with the other equipment you need.
Equipment level and Mastery are separate. Keep using AR-01 in missions to earn its Mastery: Slot 2 requires Mastery 4, and Slot 3 requires Mastery 8. Buying upgrade levels does not replace those requirements.
Use transferable Augments and early armor bonuses
Install compatible Augments on your current equipment. Common, Uncommon, Rare, and Epic Augments can be extracted for free and transferred to compatible gear. Legendary extraction requires an Extractor. This lets you improve the starter rifle without giving up those transferable Augments when you switch weapons.
Use useful early armor bonuses before spending heavily in pursuit of high rarity. Common armor already offers practical choices: Armor Set 1 adds 10% Shield, while Armor Set 2 adds 15% Recharge. Neither has a passive ability. Equip the bonus that supports your needs and keep resources available for your main weapon.
Save for a weapon that changes your options
| Weapon | Cash unlock | Token unlock | Combat role |
|---|---|---|---|
| EL-02 | 12,000 Cash | 2 Tokens | Overcharged beam |
| FT-03 | 12,000 Cash | 2 Tokens | Sustained flames |
| MG-02 | 20,000 Cash | 3 Tokens | Heat-based gunfire |
| MG-03 | 20,000 Cash | 3 Tokens | Heat-based gunfire |
| GL-03 | 20,000 Cash | 3 Tokens | Repeated explosions |
Cash and Equipment Tokens are alternative payments. Choose the weapon for the capability you want:
- EL-02: After the November 14, 2026 rework, hold to load additional rounds into a stronger, longer-reaching beam. Its beam also damages nests behind bugs it passes through.
- FT-03: Choose sustained flame attacks against bugs and nests.
- MG-02 or MG-03: Choose heat-based gunfire. MG-03 enters COOLING when its heat bar fills, so account for that pause when testing it.
- GL-03: Choose repeated explosive attacks from an eight-round magazine.
Saving 3 Tokens for a 20,000-Cash unlock preserves more Cash per Token than using 1 Token for a 5,000-Cash unlock. Save toward a weapon you actually want; its handling still needs to suit your play style.
A 5,000-Cash weapon is worth considering when its specific strengths solve a problem. AR-02 emphasizes firing rate and magazine capacity, while AR-03 emphasizes damage per shot. Try those differences before replacing an upgraded AR-01.
For later spending, address what limits your runs. Upgrade your main damage weapon when targets survive too long. Keep Sentry for automatic cover, or add Dome Shield for a barrier and Lure Beacon for small-bug distraction when you need more room to operate.
Mission and equipment guides
- Rusty tutorial walkthrough — opening mining, nest, Brute, and return-to-pod steps.
- Depot guide — station locations, firing ranges, and the group reward.
- Weapons — compare weapon types and find individual equipment details.
- Equipment upgrades, Mastery, and Augment slots — follow the separate equipment growth tracks and unlock more slots.