
Into The Hive utility equipment
Last updated:
Choose utility equipment for the pressure you need to handle: approaching swarms, distant targets, small bugs at biting distance or a position that needs a defensive barrier.
Choose Sentry for rapid automatic cover, Heavy Cannon for slower explosive shots with longer reach, Arc Tower to briefly stun small bugs and stop their bites, or Dome Shield for a defensive barrier. Bugs can climb over the dome, and boss hits shorten its remaining duration and make its recharge begin sooner.
Utility roles
Sentry and Heavy Cannon add automatic fire while you use your own weapons. Arc Tower interrupts nearby small bugs with pulses. Dome Shield creates a barrier while you continue fighting or digging.
For excavation equipment, use the Demolition tools directory. Drill belongs to the Demolition slot.
Utility directory
Compare turret damage, attack range and Cash unlock costs below. Sentry and Heavy Cannon damage and range values are for Level 1. Dome Shield's radius measures its barrier, rather than a turret's attack range.
Heavy Cannon also unlocks with 1 Equipment Token or 69 Robux. Arc Tower and Dome Shield each offer 2 Equipment Tokens or 129 Robux as alternatives to Cash. Choose one payment option; these currencies are not combined.
Compare turret damage, reach and utility unlock costs.
4 objects
|
|
8 Level 1 | 40 studs Level 1 | — | ||||||||||||||||||||||||
|---|---|---|---|---|---|---|---|---|---|---|---|---|---|---|---|---|---|---|---|---|---|---|---|---|---|---|---|
|
An automatic deployable turret that covers approaching bugs while you fight or mine. It can be placed on the drill platform and cavern floor.
TipsPlace Sentry on the escort drill's platform to cover approaching bugs while you fire. Use the deployment and repair guide when changing positions or restoring a damaged turret. |
|||||||||||||||||||||||||||
|
|
60 Level 1 | 60 studs Level 1 | 3,000 Cash | ||||||||||||||||||||||||
|
A deployable cannon turret that attacks bugs with explosive shots. It provides supporting fire while you use your weapons.
TipsChoose Heavy Cannon for explosive support and its 60-stud Level 1 range. Deploy it before switching back to your weapon during Brood Hunt. |
|||||||||||||||||||||||||||
|
|
— | — | 7,000 Cash | ||||||||||||||||||||||||
|
A deployable utility tower whose pulses briefly stun small bugs and stop their bites.
TipsUse Arc Tower pulses to interrupt small bugs at biting distance. Radius increases the tower's range. |
|||||||||||||||||||||||||||
|
|
— | — | 7,000 Cash | ||||||||||||||||||||||||
|
A deployable device that creates a dome-shaped defensive barrier. Bugs can climb over it, and boss hits shorten its duration.
TipsKeep fighting after deployment: bugs can climb over the dome. Boss hits shorten its remaining duration and bring its recharge forward. The solo setup pairs it with Lure Beacon for separate defensive and distraction roles. |
|||||||||||||||||||||||||||
Choose support for the fight
Sentry or Heavy Cannon
Choose Sentry for frequent covering fire while you shoot or mine. At Level 1, it fires 8 shots per second. Place it on the Escort Drill platform to help cover bugs approaching the platform and stairs, then keep firing with your weapon. It also supports nest fights and defense along extraction tunnels.
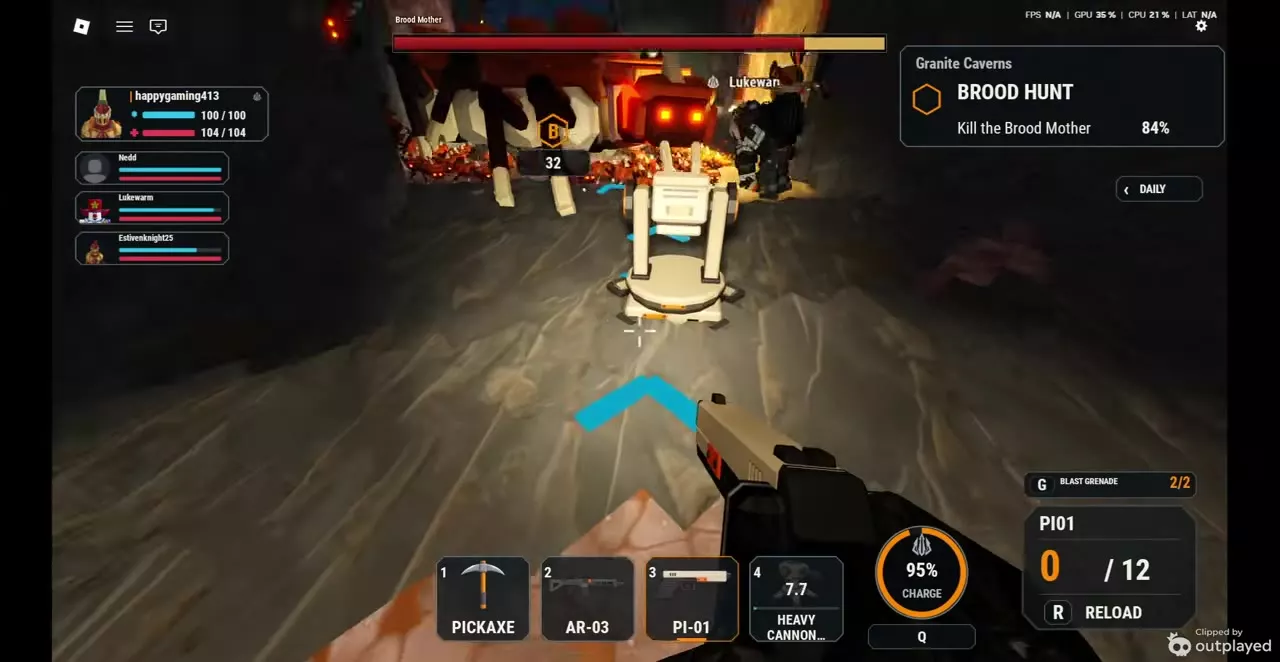
Choose Heavy Cannon for explosive support and longer reach. At Level 1, it fires once every 2.5 seconds. Its larger individual hits suit a different role from Sentry's rapid fire: deploy it to add explosions to the fight, then switch back to your weapon rather than waiting between cannon shots. It also supports Brood Mother fights while you handle the surrounding swarm.
Arc Tower for small-bug pressure
Choose Arc Tower when small bugs are reaching biting distance. Each pulse briefly stuns them and stops their bites. This makes it useful for interrupting close attackers while you keep shooting.
Dome Shield for a defensive position
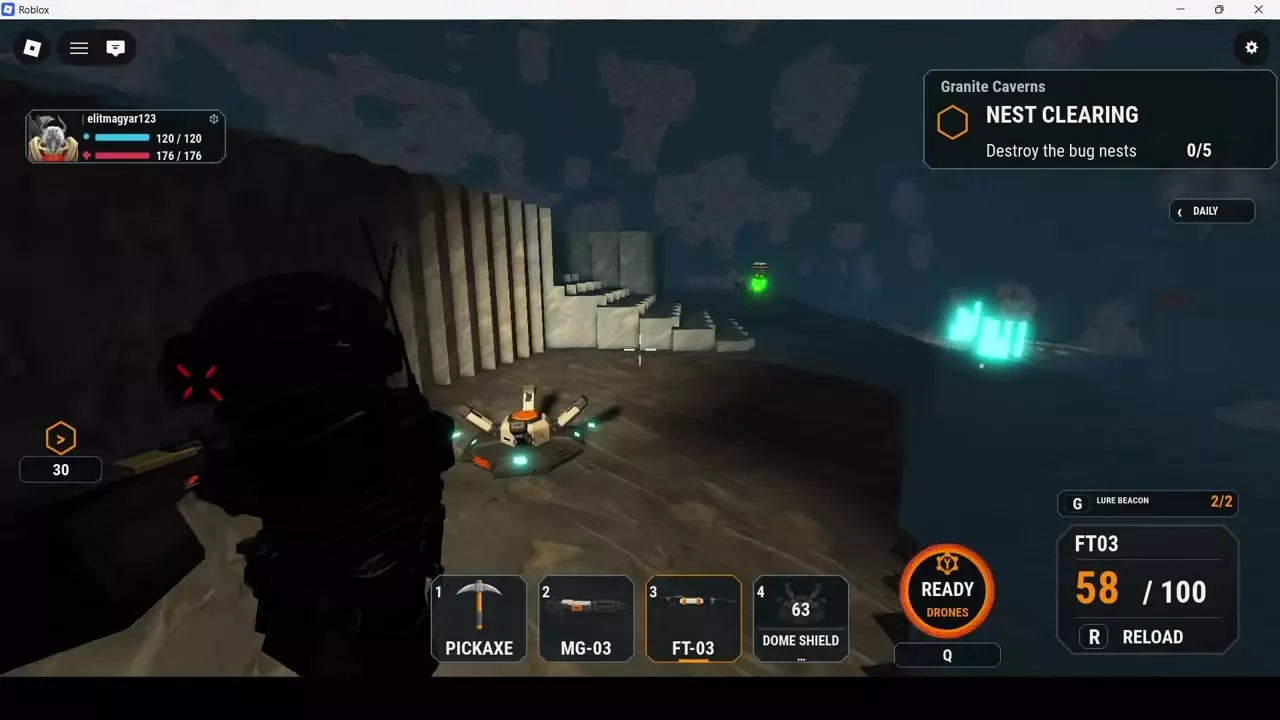
Deploy Dome Shield while continuing to fight or dig a route. Bugs can climb over the dome, so keep attacking enemies approaching your position.
Each boss hit shortens the dome's remaining duration. Its recharge consequently begins sooner; plan around a shorter barrier window when a boss is attacking it.
Radius affects different areas
The Radius Augment trait, formerly named Shield Radius, changes a different area on each compatible device:
- Dome Shield: increases the barrier's radius.
- Arc Tower: increases attack range.
- Heavy Cannon: increases explosion radius.
Choose it for the area you need to improve: more barrier coverage, a wider pulse reach or larger explosions. See Augment traits for compatible equipment and other utility effects.

Deployment and defensive builds
- Deploy, move and repair utility equipment: learn placement, repositioning and packed repairs. Moving a turret has a 2-second wait and preserves damage; leave it packed for 30 seconds to repair it.
- Escort the Drill walkthrough: use platform cover through the defense, nest-clearing and final encounter stages.
- Boss loadouts: combine your utility choice with weapons, armor and swarm control.
- Solo Layer 1 Insane Nest Clearing loadout: use the advanced MG-03, FT-03, Dome Shield, Lure Beacon and Pickaxe configuration, with a barrier and distraction serving separate roles.