
Into The Hive boss build: weapons, support and armor
Last updated:
Build for two threats at once: the boss you need to keep shooting and the swarm closing around you. Match your weapon, class and armor to that division of work.
Start with AR-03, PI-01 and Heavy Cannon for an early Brood Mother loadout. Upgrade your rifle or choose EL-02 for an overcharged beam, or MG-02/MG-03 for heat-based gunfire. Pick Assault for personal weapon recovery or Engineer for utility recovery. Big Game Hunter directly rewards boss attacks; Overdrive requires an active ultimate, and Overcharged requires full shield. Use support to control nearby bugs while you keep attacking the boss.
Separate boss damage from swarm control
Give your main weapon the boss-damage job and your supporting equipment the nearby-bug job. Deploying support should let you return to shooting rather than stand still and wait for it to finish the fight.
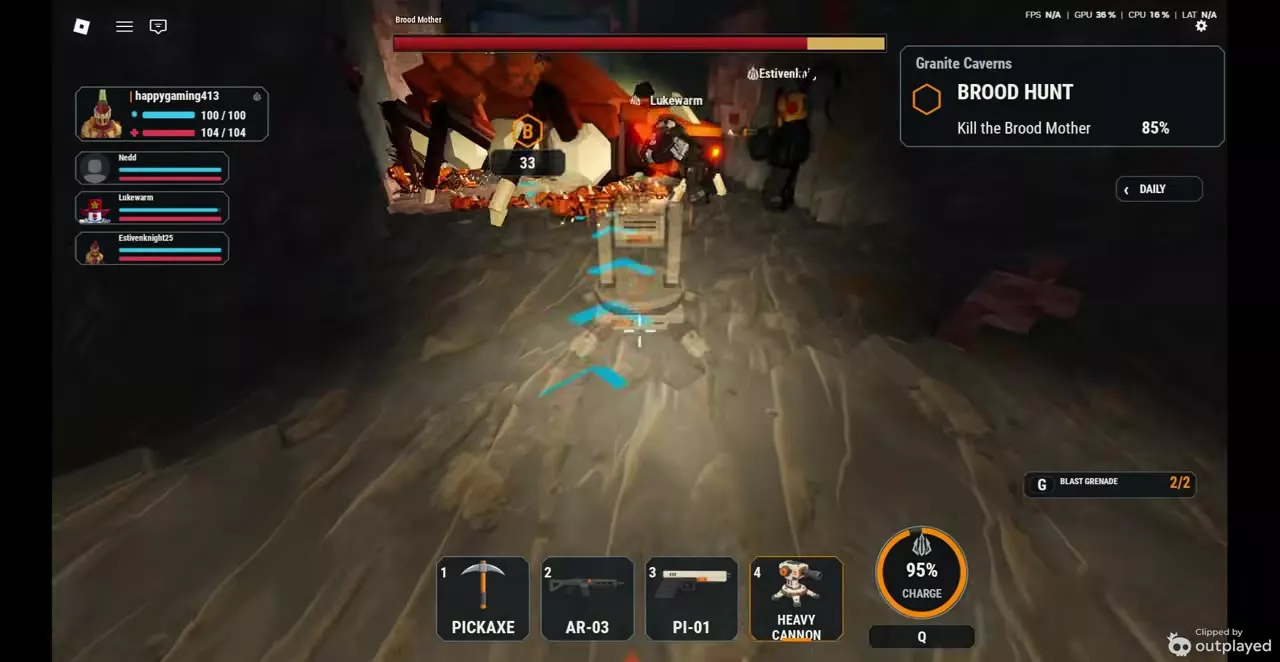
An early Brood Mother combination is AR-03, PI-01 and Heavy Cannon:
- AR-03: your main rifle for repeated attacks on the boss. At Level 1, it deals 10 damage per shot, holds 23 rounds and reloads in 2 seconds.
- PI-01: your starting secondary pistol.
- Heavy Cannon: explosive supporting fire while you continue using your weapons.
Keep upgrading the rifle you use before replacing it solely for a different firing style. Add an offensive armor set when you are ready to trade some shield for its damage bonus.
Choose your weapon and class
Choose between magazine-based rifle fire, a charged beam and heat-based gunfire according to how you want to handle firing and recovery windows.
| Weapon | Firing style | Boss-fight use |
|---|---|---|
| Upgraded rifle | Magazine and reload | Repeated aimed fire |
| EL-02 | Overcharged beam | Charged attacks |
| MG-02 | Heat; 1,200 RPM | Rapid gunfire |
| MG-03 | Heat; 600 RPM | Higher damage per shot |
EL-02: after the November 14, 2026 rework, hold the trigger to overcharge. Each charge step loads one additional round, up to the whole magazine, then combines the loaded rounds into a stronger beam with greater reach. Its beam also damages nests behind bugs it passes through. Choose it when you want to commit ammunition to a charged attack; aim before releasing that investment.
MG-02 versus MG-03: MG-02 has 4 damage per shot at 1,200 RPM; MG-03 has 8 damage per shot at 600 RPM. MG-03 doubles the damage per shot while halving the firing rate. Choose between their firing rhythms rather than treating MG-03's higher single-shot value as double the sustained output. When MG-03's heat bar fills, it enters COOLING; use that interruption to reposition.
For unlock cost, EL-02 requires 12,000 Cash, 2 Equipment Tokens or 219 Robux. MG-02 and MG-03 each require 20,000 Cash, 3 Equipment Tokens or 349 Robux. These are alternative payments. See weapon firing mechanics for the broader weapon controls and category differences.
Match your class to the equipment doing the work
- Assault: +25% personal reload and recovery speed, plus Blade Drones. Choose it when keeping your own weapon firing is the priority. Its six autonomous blades attack nearby enemies or concentrate on one target while you continue fighting.
- Engineer: +25% personal Utility Recovery, plus Missile Drones. Choose it when your turret or defensive utility is central to the setup. Its two heavy drones fire explosive homing missiles at clustered enemies.
Compare the remaining passives in classes and squad bonuses.
Add armor and supporting equipment
Choose Big Game Hunter first for a dedicated boss build: the boss itself satisfies its damage condition. It also increases damage against heavy bugs and specials.
Overdrive suits an ultimate-focused build. Activate your drones when you can keep firing, then use the ACTIVE window for weapon damage alongside their attacks.
Overcharged suits a position where you can preserve full shield. Taking shield damage breaks its full-shield condition, so choose it when your movement and swarm control help maintain that state.
All three sets trade some shield for conditional damage. Use the armor directory to compare them with defensive alternatives.
Choose one utility for your main support job
- Heavy Cannon: explosive turret support. Favor it when nearby bugs gather together and you want supporting fire while aiming your weapon at the boss.
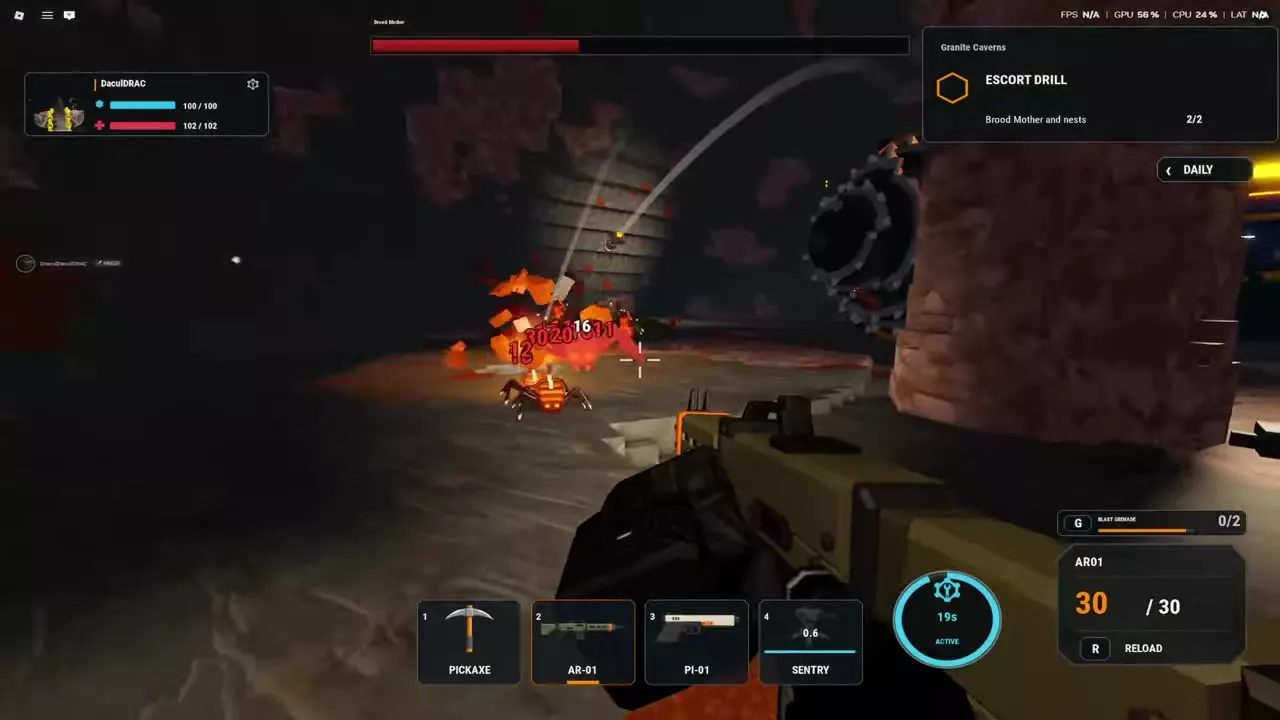
- Sentry: automatic turret cover for approaching bugs. Favor it when you want straightforward supporting fire around your fighting position.
- Dome Shield: a defensive barrier instead of a turret. Choose it for protection while retaining direct boss damage through your weapons; its boss-hit limits are covered below.
Turrets gain health in deeper layers: +20% in Layer 2, reaching double health in Layer 5. That improves their durability, but you still need to keep fighting around them.
For your throwable, choose Lure Beacon to draw small bugs away from your position, or Blast Grenade to attack a cluster. Neither replaces the weapon assigned to the boss.
3 objects
| Name | Damage bonus condition | Shield tradeoff |
|---|---|---|
|
Full shield
|
Reduced shield
| |
| ||
|
Active ultimate
|
Reduced shield
| |
| ||
|
Heavy bugs, specials, and bosses
|
Reduced shield
| |
| ||
Fight through damage windows
- Deploy your support before settling into sustained fire. Put your turret where it can cover approaching bugs, then return to your weapon.
- Track Brood Mother above you. Follow her movement with your aim instead of keeping every shot at ground level. Clear bugs that close on your position, then return to the boss.
- Activate your ultimate when READY. Press Q on keyboard and continue shooting while the drones operate. With Overdrive equipped, use the ACTIVE period to meet its damage condition.
- Move during recovery. Reload while changing position as needed. With MG-03, use COOLING to adjust your position before resuming fire.
- Keep the two jobs separate. Let your utility and throwable help manage the swarm while you maintain direct attacks on the boss whenever you have a clear shot.
Since the November 14, 2026 update, ultimates charge 20% slower than before that update. Plan Overdrive around the READY and ACTIVE indicators rather than an assumed fixed recharge time.
Dome and throwable limits
Dome Shield does not create a safe waiting spot
Each boss hit shortens the dome's remaining duration, which also brings the start of its recharge forward. Bugs can climb over the barrier. Keep watching approaching enemies and reposition when they reach you or the dome wears down.
Blast Grenade's extra health damage excludes bosses
Against a non-boss bug, Blast Grenade also removes 10% of that bug's maximum health. That additional effect does not apply to bosses. Use it against surrounding bugs while your weapon handles the boss; do not budget that extra 10% as boss damage.
Lure Beacon attracts small bugs
Lure Beacon attracts Crawlers, flyers and other small bugs, not the boss. Throw it with G on keyboard to pull those enemies away from your fighting position. Its 24-second recharge begins when the beacon switches off, so account for that delay before relying on another distraction.
Brood Mother encounter routes
- Brood Hunt walkthrough: follow the trail, fight Brood Mother and reach extraction after the kill.
- Escort the Drill walkthrough: defend the drill and complete both the final nest objectives and the Brood Mother fight.
- Utility equipment: compare turrets and Dome Shield before choosing your utility slot.
- Throwables: compare grenade and distraction options for the surrounding swarm.