
Into The Hive Nest Clearing walkthrough
Last updated:
Nest Clearing takes you through the caves to find and destroy bug nests. Keep the nest objective moving while fighting the brood, then return to the drill pod to finish the mission.
Follow the blue arrows and N markers, dig through blocked passages with Pickaxe, and keep attacking each nest until NEST DESTROYED advances the counter. After ALL NESTS DESTROYED, follow Get to the drill pod, enter when it opens and stay aboard until Extracting.
Destroy the displayed nest target
Select Nest Clearing and check the Destroy the bug nests counter when you enter. Destroy the number required by your current mission.
Two Granite Caverns examples illustrate the target counts:
| Mission example | Nest target |
|---|---|
| Normal | 3 nests |
| Insane · solo | 5 nests |
Each destroyed nest advances the counter. ALL NESTS DESTROYED completes the nest objective and changes your task to Get to the drill pod. You still need to extract to finish the mission.
Prepare damage, support and a digging tool
Bring a weapon for sustained nest damage, a support option for approaching bugs and Pickaxe for blocked terrain. AR-01 and PI-01 both damage nests, so a flamethrower is not required.
Choose your attacks around these interactions:
| Equipment | Nest interaction |
|---|---|
| AR-01 / PI-01 | Direct gunfire |
| Pickaxe | Repeated melee strikes |
| FT-01 / FT-02 / FT-03 | Burning damage |
| GL-01 / GL-02 / GL-03 | Shells explode on nests |
| EL-01 | Full damage to nests |
| EL-02 | Beam passes through bugs |
| EL-03 | Damages nests |
| Throwing Axe / Missile Drones | Axe hits / missile explosions |
- Gunfire: Keep firing at the nest and reload as needed. Deploy a Sentry or Heavy Cannon to help cover approaching bugs while you attack.
- Flamethrowers: Burning damages nests. FT-03 also attacks surrounding insects, making it useful when the brood crowds the objective. Hold the trigger for sustained fire.
- EL-02: Its beam damages the nest behind bugs it passes through. Use that line of fire when insects stand between you and the objective. Hold to overcharge; each step loads another round, up to the whole magazine, into a stronger, longer-reaching beam.
- Pickaxe: Repeated strikes destroy nests within melee reach. Use ranged attacks when you need room to handle the brood; close in with Pickaxe when you have space to keep striking.
Follow markers and open blocked routes
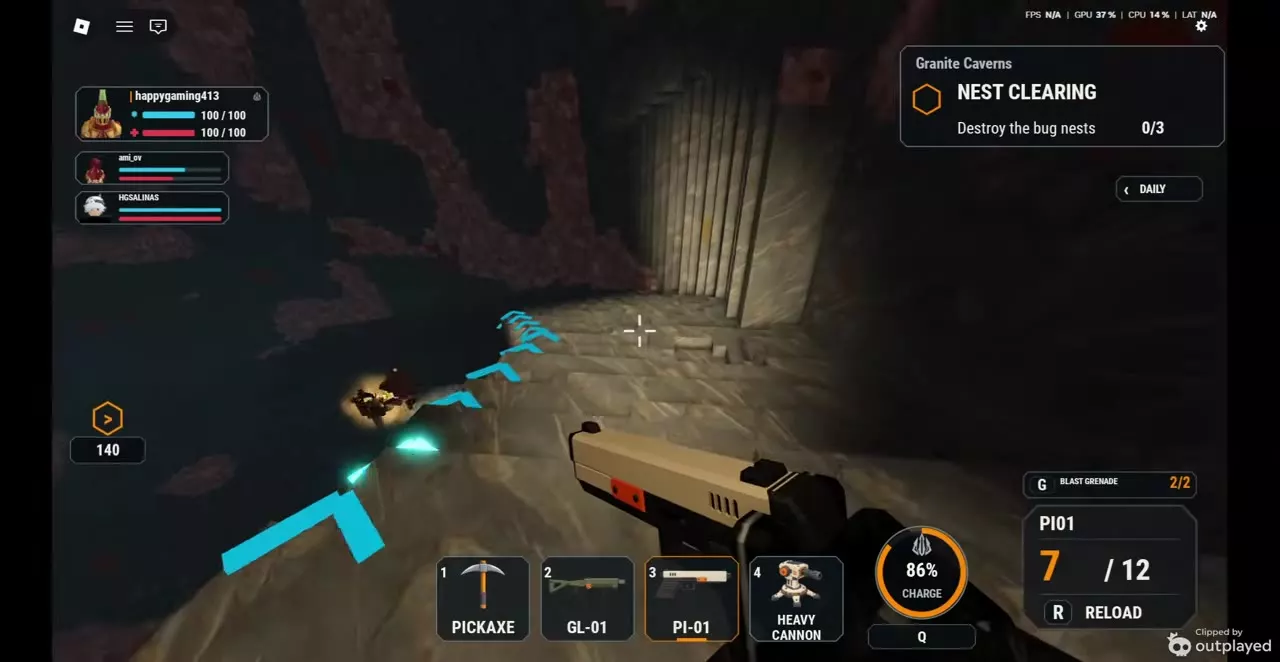
- Follow the blue ground arrows and objective markers through the caves. Look for an N marker identifying a nest.
- When rock blocks the route, equip Pickaxe and repeatedly strike it with the left mouse button. Break an opening and continue toward the marker.
- Identify the nest by its large dark or reddish sac, glowing orange ridges or cracks, and overhead health bar.
If AMBUSH! Bugs are pouring in appears, fight the incoming swarm and cover the nearby approaches before continuing. AMBUSH announces a swarm; it does not identify a single enemy called Ambusher. Use the enemy counters and swarm warnings for individual threats.
Attack the nest and control its brood
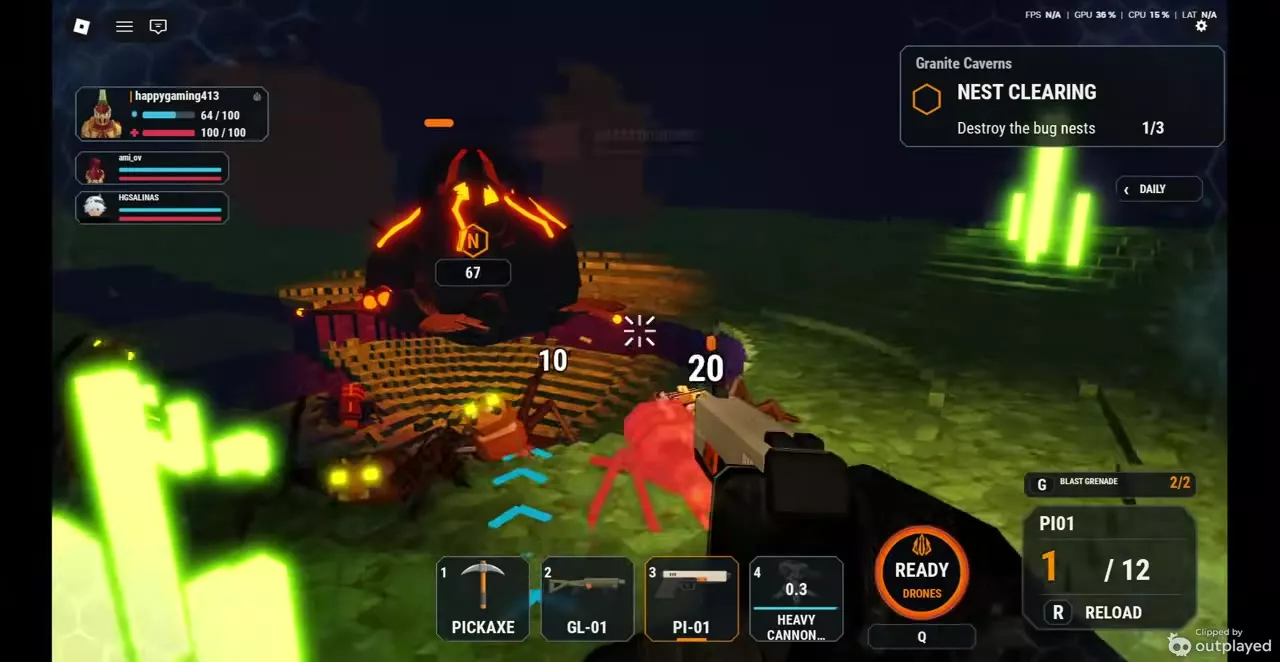
- Attack the nest. NEST PROVOKED warns that its brood is coming for you.
- Deploy your Sentry or Heavy Cannon for supporting fire, and clear bugs that threaten your position. Keep returning damage to the nest so its health bar continues to fall.
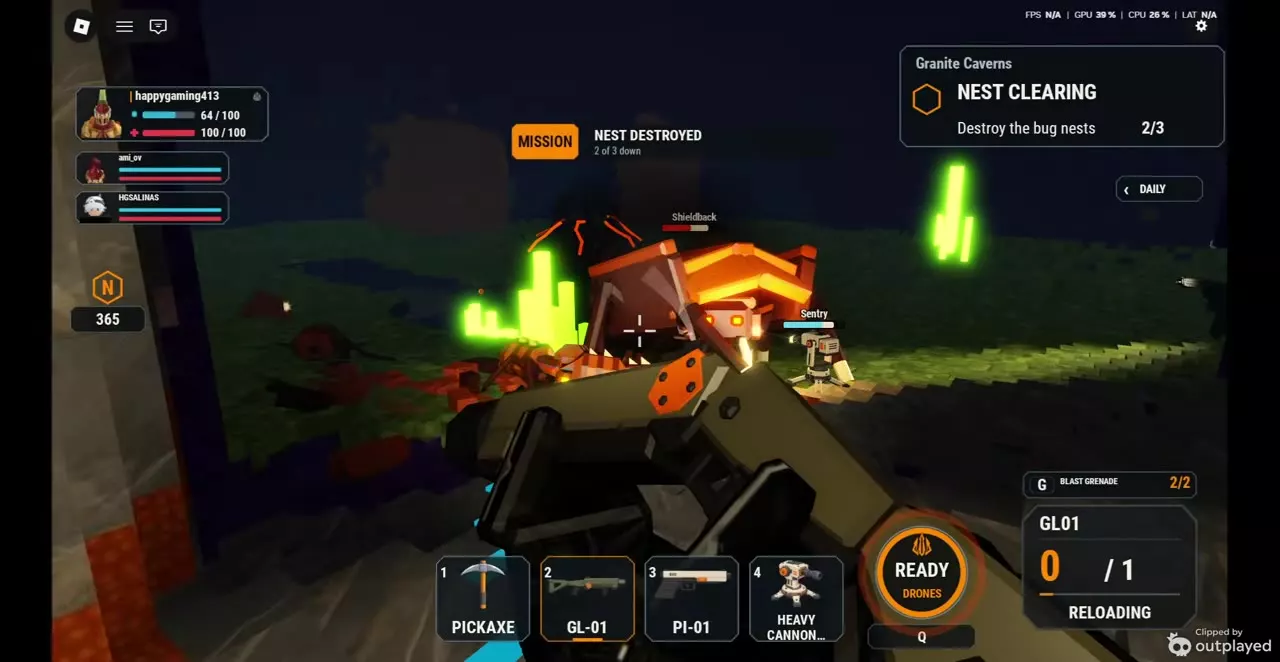
- Continue until the health bar is depleted and NEST DESTROYED appears. Confirm that the mission counter increases before moving toward the next nest.
Destroying a nest makes it collapse or disappear, but surviving bugs remain active. Clear the enemies blocking your departure. Killing the surrounding brood alone does not complete the nest objective.
Finish the remaining nests and board the pod
- Follow the next nest marker and repeat the attack until you reach the displayed total. In the three-nest Normal example, progress advances through 1/3 and 2/3 before completion; the solo Insane example requires five nests.
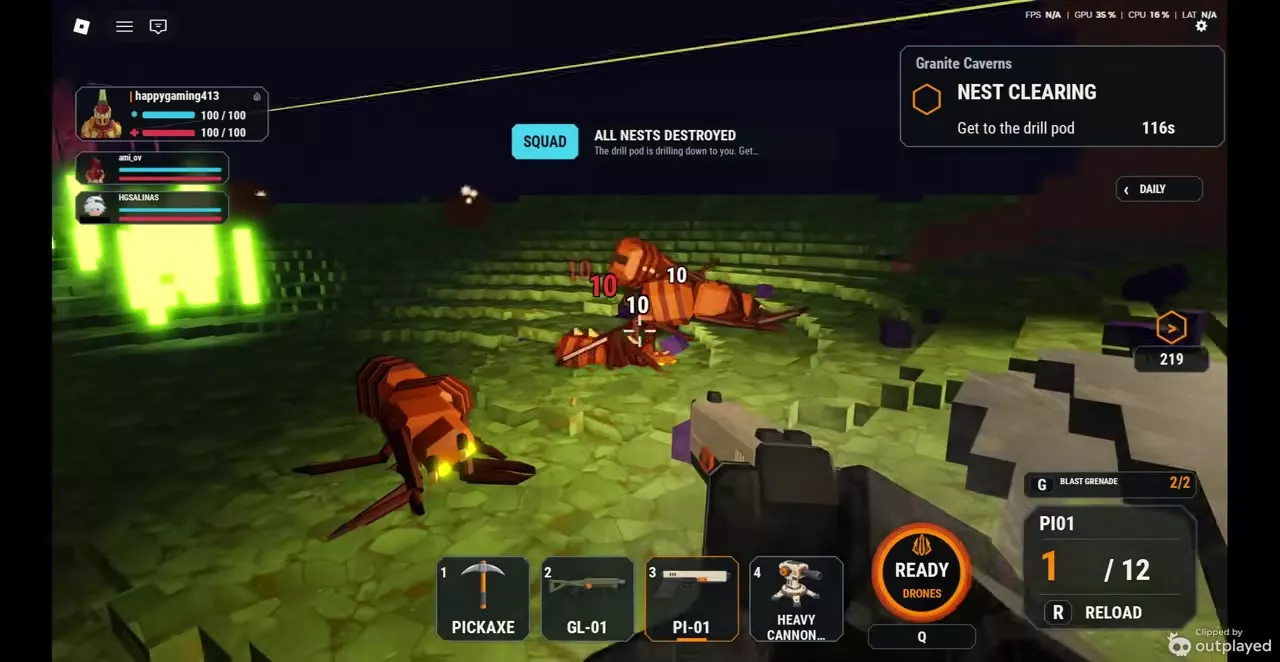
- When ALL NESTS DESTROYED appears, follow the new Get to the drill pod objective. Use the blue arrows and orange objective marker to find the extraction route.
- Break obstructing rock with Pickaxe and fight bugs blocking the way. Continue toward the pod rather than staying in the nest area to fight every remaining enemy.
- At the destination, wait for the pod to arrive and open. Enter the cabin and stay aboard through the GO countdown until the status changes to Extracting.
Any position inside the cabin counts as boarding. Keep defending yourself on the way to the pod; completing the nest count does not remove the remaining swarm.
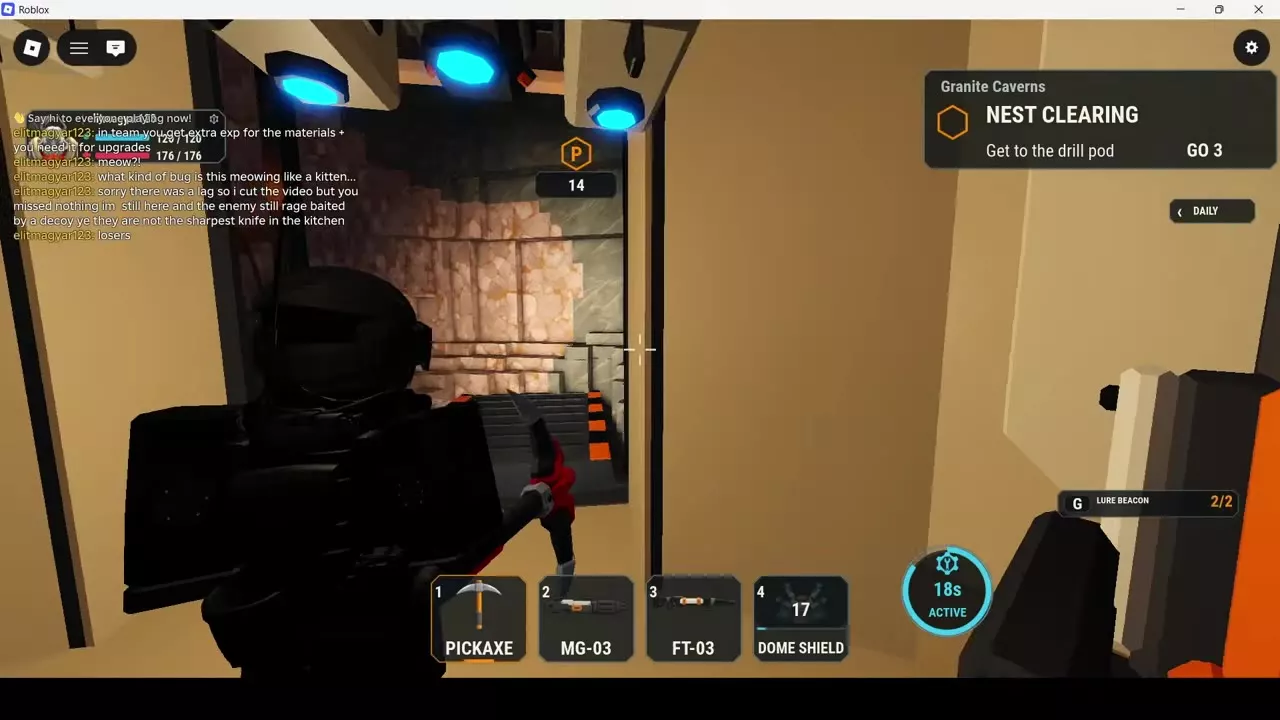
Solo Insane setup and rewards
- Solo Layer 1 Insane Nest Clearing loadout — use the MG-03, FT-03, Dome Shield and Lure Beacon configuration, with its equipment levels, three-slot Augments and combat rotation.
- How to extract — follow the full pod route, boarding checks and teammate departure options.
- Mission payouts, first clears and weekly bonuses — read Cash, Rank XP, recovered ore and equipment Mastery separately, then check bonus eligibility.