
Into The Hive solo Layer 1 Insane Nest Clearing build
Last updated:
Pair MG-03 gunfire with FT-03 flames, use Lure Beacon to draw small bugs away, and deploy Dome Shield while fighting or digging forward. This advanced loadout completed solo Layer 1 Insane Nest Clearing with the equipment levels and Augments below.
Use Level 13 MG-03, Level 10 FT-03, Level 18 Dome Shield, Level 16 Lure Beacon and Pickaxe. Each combat item has three installed Augments, including Sidearm I on FT-03. Switch to flames while MG-03 cools, use the beacon to open a route through small bugs, and keep fighting around the dome. Destroy the nest target, then follow the extraction markers and stay inside the pod until Extracting.
MG-03, FT-03, Dome Shield and Lure Beacon
The five-item combination covers approaching enemies, close groups, defensive support, distraction and excavation.
| Equipment | Role |
|---|---|
| MG-03 | Gunfire against approaching bugs |
| FT-03 | Sustained flames against close groups |
| Dome Shield | Defensive support |
| Lure Beacon | Small-bug distraction |
| Pickaxe | Open blocked terrain |
The weapon pair keeps you attacking through MG-03's cooling intervals. Lure Beacon creates room to move, while Dome Shield supports the pauses needed to fight or dig. Pickaxe keeps a blocked passage from stopping your advance.
Use this as a specific advanced configuration for solo Layer 1 Insane Nest Clearing. The levels below describe the completed setup; they are not minimum completion requirements.
Equipment levels and three-slot Augments
Use the following equipment levels and install all three Augments on each combat item. FT-03's first slot includes Sidearm I as part of this configuration.
| Equipment | Level |
|---|---|
| MG-03 | 13 |
| FT-03 | 10 |
| Dome Shield | 18 |
| Lure Beacon | 16 |
Each row below is one installed Augment. Its traits share that slot.
| Equipment | Slot | Rarity | Trait | Trait | Trait |
|---|---|---|---|---|---|
| MG-03 | 1 | Epic | Chain Lightning II | Bleed IV | — |
| MG-03 | 2 | Legendary | Explosive Rounds IV | Ultimate Charge III | Damage III |
| MG-03 | 3 | Epic | Bleed III | Damage III | — |
| FT-03 | 1 | Legendary | Ultimate Charge III | Sidearm I | Damage IV |
| FT-03 | 2 | Epic | Chain Lightning III | Ultimate Charge II | — |
| FT-03 | 3 | Legendary | Damage IV | Ricochet II | Fire Rate II |
| Dome Shield | 1 | Legendary | Shock Dome III | Radius III | Cooldown II |
| Dome Shield | 2 | Epic | Cooldown III | Shock Dome III | — |
| Dome Shield | 3 | Epic | Shield Duration III | Radius II | — |
| Lure Beacon | 1 | Legendary | Blast Radius III | Effect Duration III | Lingering Fire III |
| Lure Beacon | 2 | Epic | Blast Radius III | Extra Charge I | — |
| Lure Beacon | 3 | Legendary | Recharge III | Cluster III | Effect Duration III |
With these levels and Augments, MG-03 displays 18.46 damage at 600 RPM. FT-03 displays 13.3 damage, a 100-round magazine and a 2.4-second reload. The Level 13 MG-03 and Level 10 FT-03 upgrade previews list 14.2 and 9.5 damage respectively before Augment bonuses.
The augmented Level 18 Dome Shield displays a 23.95-stud radius, 44.98-second duration and 22.5-second recharge. The augmented Level 16 Lure Beacon displays 2 charges, 67.5-stud reach and 14.87-second recharge. These values belong to the listed configurations.
Radius is the current name of Shield Radius; on Dome Shield, it increases the dome's radius.
Alternate gunfire and flames
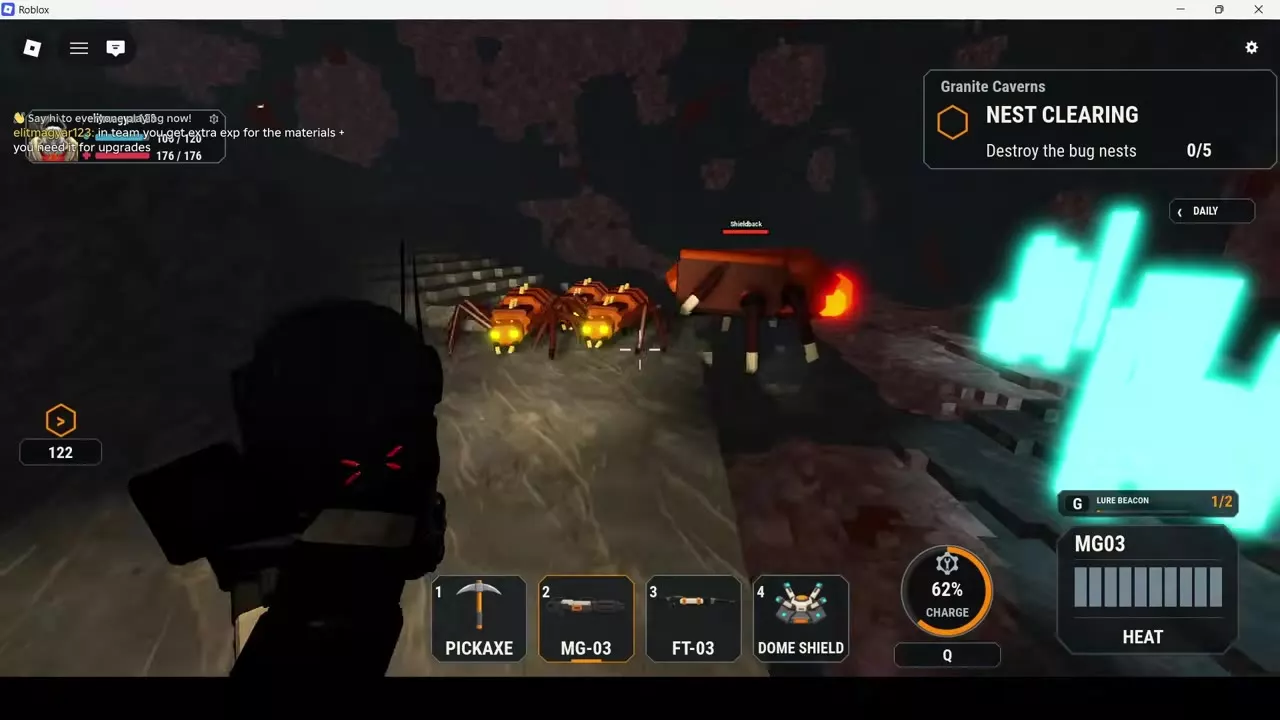
- Select MG-03 in hotbar slot 2 and fire at approaching bugs. Watch the HEAT bar as you shoot.
- When the bar fills and changes to COOLING, move away from the advancing group. Switch to FT-03 in slot 3 to keep attacking nearby bugs.
- Hold FT-03's trigger for sustained flames. Press R to reload when ammunition runs low; you can refill a partially used magazine.
- Return to MG-03 once its display changes back to HEAT. Repeat the rotation as enemies close in.
- When DRONES reads READY, activate it with Q and continue using your weapons while it reads ACTIVE.
Use movement to preserve room for the next weapon switch or reload. FT-03 fills MG-03's cooling gap, but it still needs ammunition management. Holding its trigger sustains the attack; tapping does not fire faster.
Create space and destroy nests
- Press G to throw Lure Beacon and draw small bugs away from your route. Move through the opening, or turn back with FT-03 to burn the gathered group.
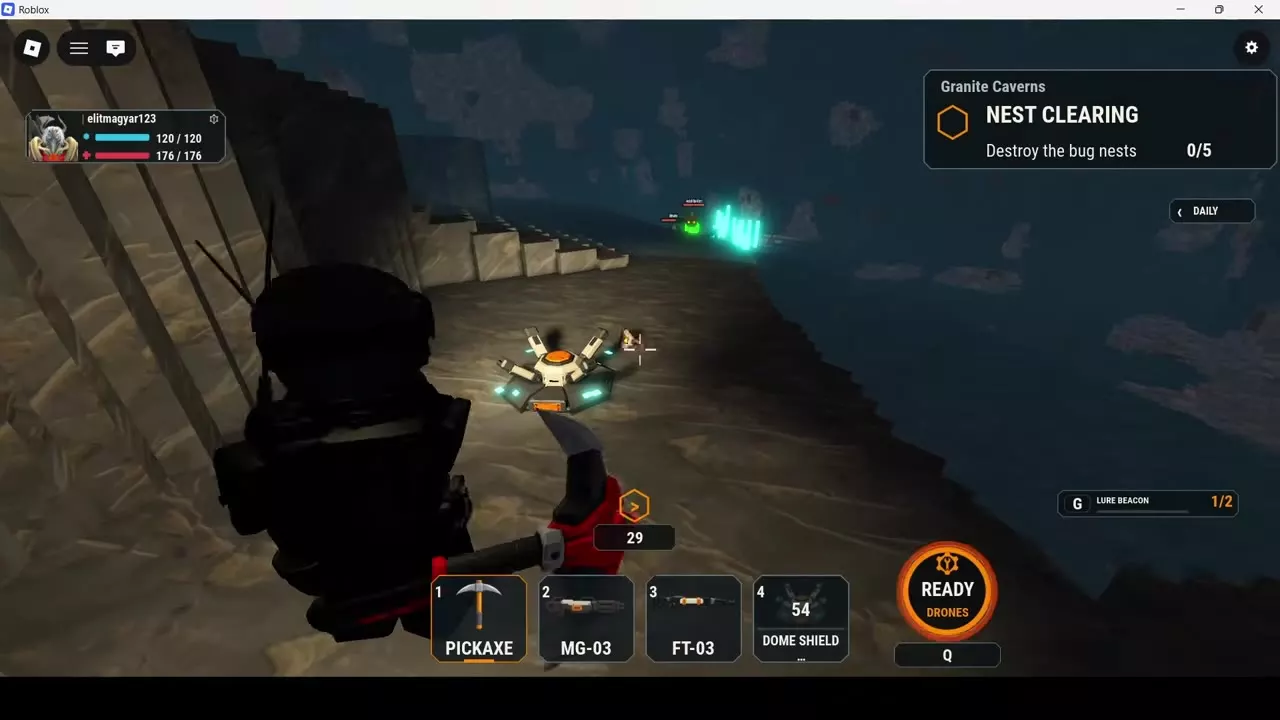
- Select Dome Shield in slot 4 and deploy it when you need support while fighting or opening a passage.
- Select Pickaxe in slot 1 and repeatedly left-click blocked rock to dig through. Switch back to a weapon when bugs approach.
- Attack the nest itself with FT-03. NEST PROVOKED signals incoming bugs; keep controlling the group while damaging the nest.
- Confirm NEST DESTROYED and an increased objective count, then continue toward the remaining nests.
Bugs can climb over Dome Shield, so keep attacking and moving around it. Use the supported interval to make progress through a wall or against the objective instead of waiting inside for enemies to disappear.
Lure Beacon attracts Crawlers, flyers and other small bugs only. Fight larger threats separately. Under the November 14 update, its 24-second recharge starts after the beacon switches off. The 14.87-second value above belongs to the specified Level 16 three-Augment configuration.
The completed Granite Caverns run required five nests. Follow the count displayed for your mission, and keep damaging nests rather than spending the entire fight clearing their surrounding bugs.
Leave the swarm and extract
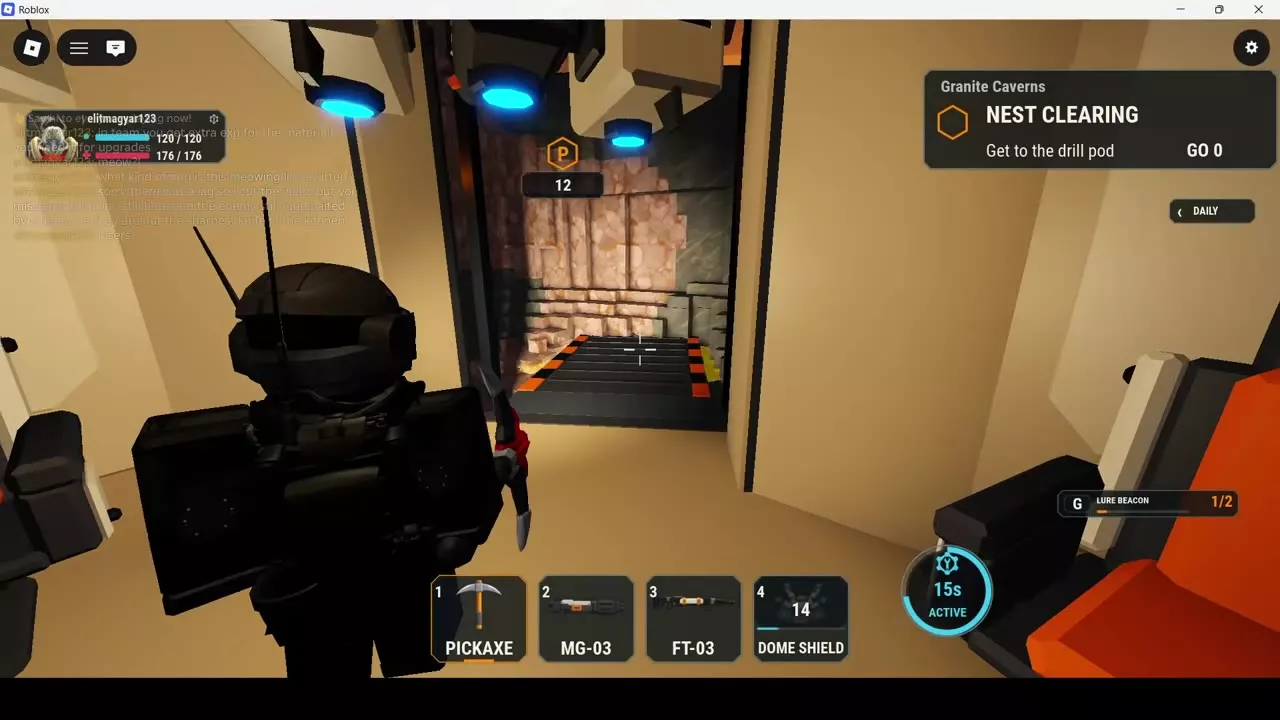
After the five-nest objective in this setup is complete, switch your focus to Get to the drill pod.
- Use Lure Beacon's small-bug distraction to separate from the group and start moving toward extraction. Keep handling larger enemies with your weapons.
- Follow the blue route arrows and orange objective marker toward the pod.
- Dig through blocking rock with Pickaxe. Use Dome Shield to support the excavation, and switch back to a weapon when enemies reach you.
- Enter the pod and stay inside through the GO countdown until the objective changes to Extracting and SQUAD EXTRACTING — Hold on appears.
Once the distraction opens a route, prioritize reaching the pod over turning back to finish the small bugs gathered behind you.
Equipment details and mission route
- Weapons covers weapon choices and equipment detail entries for MG-03 and FT-03.
- Utility equipment leads to Dome Shield's full attributes and progression.
- Throwables covers Lure Beacon and the other throwable choices.
- Augment traits explains trait categories and equipment interactions.
- Nest Clearing walkthrough covers finding nests, provoking them and completing the objective.
- How to extract covers the full return route, boarding and extraction prompts.