
Into The Hive tutorial walkthrough
Last updated:
Follow Rusty through the Granite Caverns tutorial, from your first ore deposit to the return trip to the drill pod. The route teaches mining, digging, shooting and Sentry deployment before the Nest and Brute encounters.
Mine the deposits Rusty points out, use the Pickaxe to open blocked tunnels, and deploy Sentry when prompted. Keep attacking the Nest while fighting its bugs until NEST DESTROYED appears. Shoot the Brute's legs, then follow the blue arrows and objective marker back to the drill pod after Rusty's story sequence. Enter when the doors open to finish the tutorial and reach the depot.
Follow Rusty and mine the deposits
- Use WASD to leave the drop pod in Granite Caverns.
- Follow Rusty and the objective marker until he points out an ore deposit.
- Select the Pickaxe and repeatedly left-click the deposit to break it apart.
- Check Squad Haul for collected ore and earned XP, then continue along Rusty's route.
The equipment keys in this walkthrough use the tutorial's default hotbar: 1 for Pickaxe, 2 for AR-01, 3 for PI-01 and 4 for Sentry. If you have moved equipment between slots, use its current displayed key. Change slot assignments in Settings > Controls; see controls and settings for the full control reference.
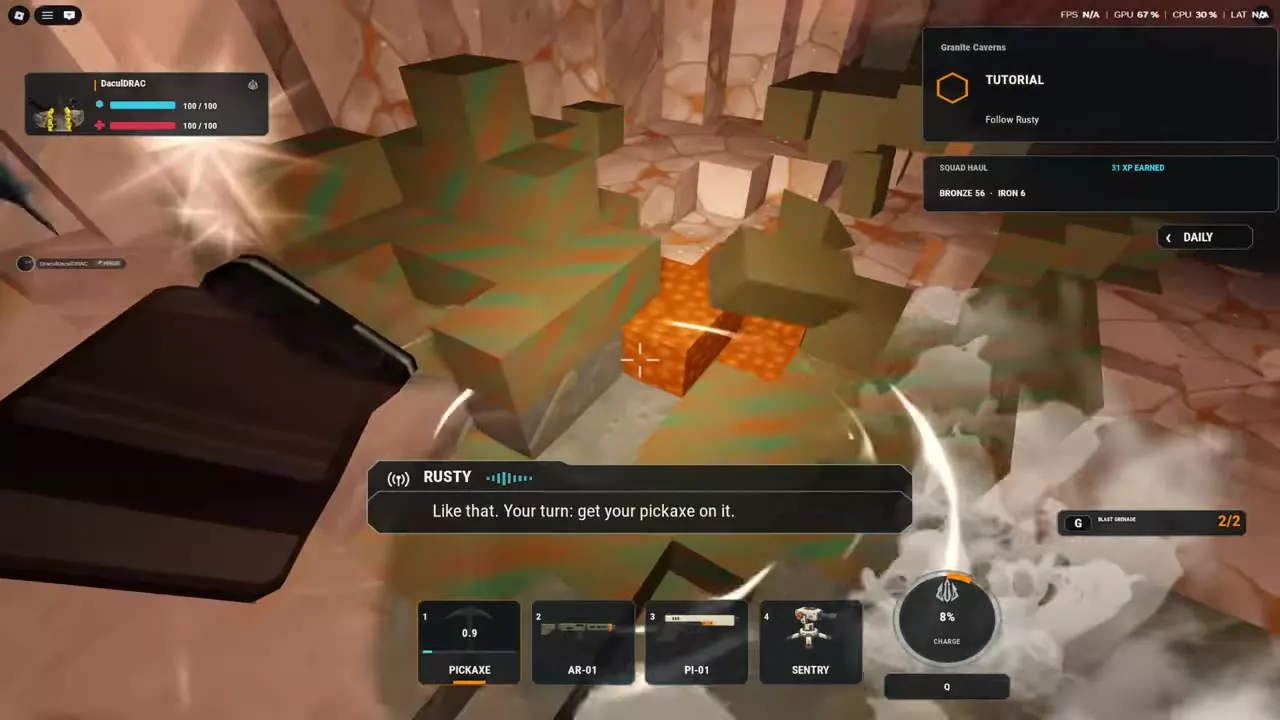
Dig through the tunnel and fight the bugs
- At the dirt blockage, equip the Pickaxe and left-click the dirt until you open a passage. Dig through it yourself rather than waiting for Rusty to clear the route.
- When bugs attack, press 2 to select AR-01. Left-click to fire and press R to reload. Use right-click to aim at distant enemies, and reload during a break in the fighting.
- When Rusty calls out a clustered group and G THROW appears, press G to throw a Blast Grenade at the group.
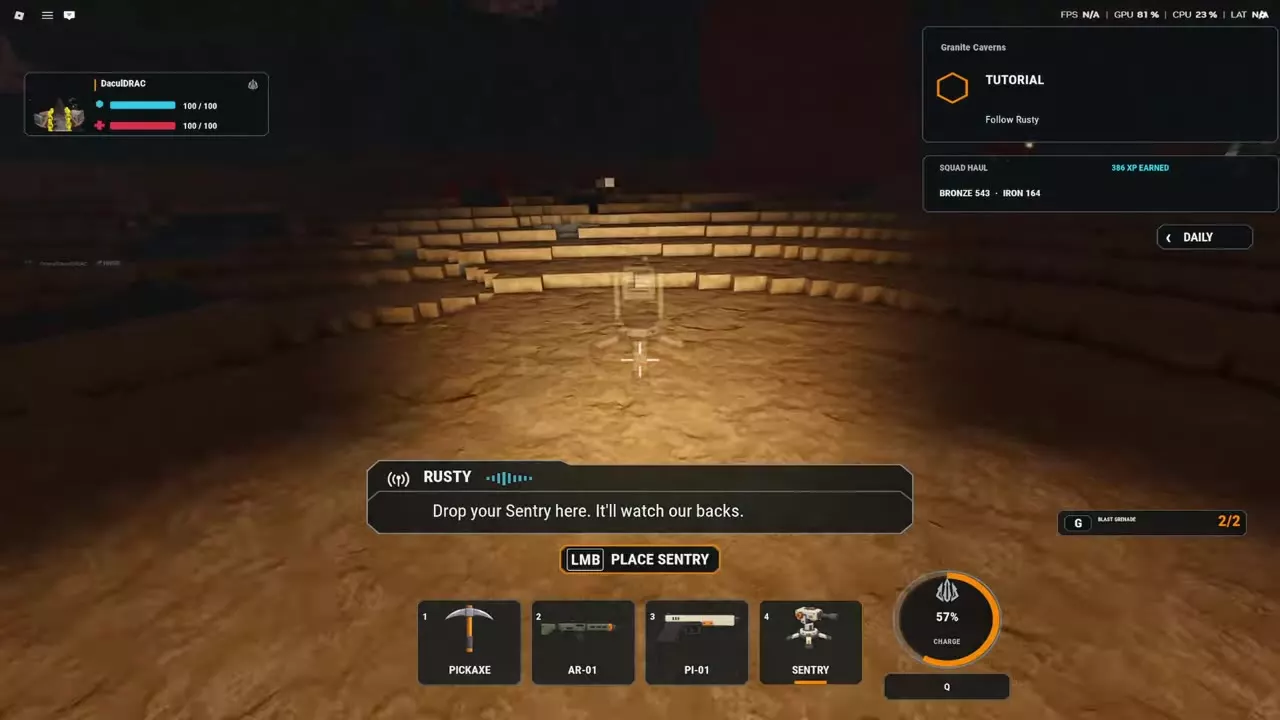
- At the Sentry prompt, press 4, aim the placement preview at the ground behind the squad, and left-click to place it.
Successful deployment changes the hotbar label to SENTRY UP. The turret then fires at approaching enemies, helping cover the squad's rear as you continue.
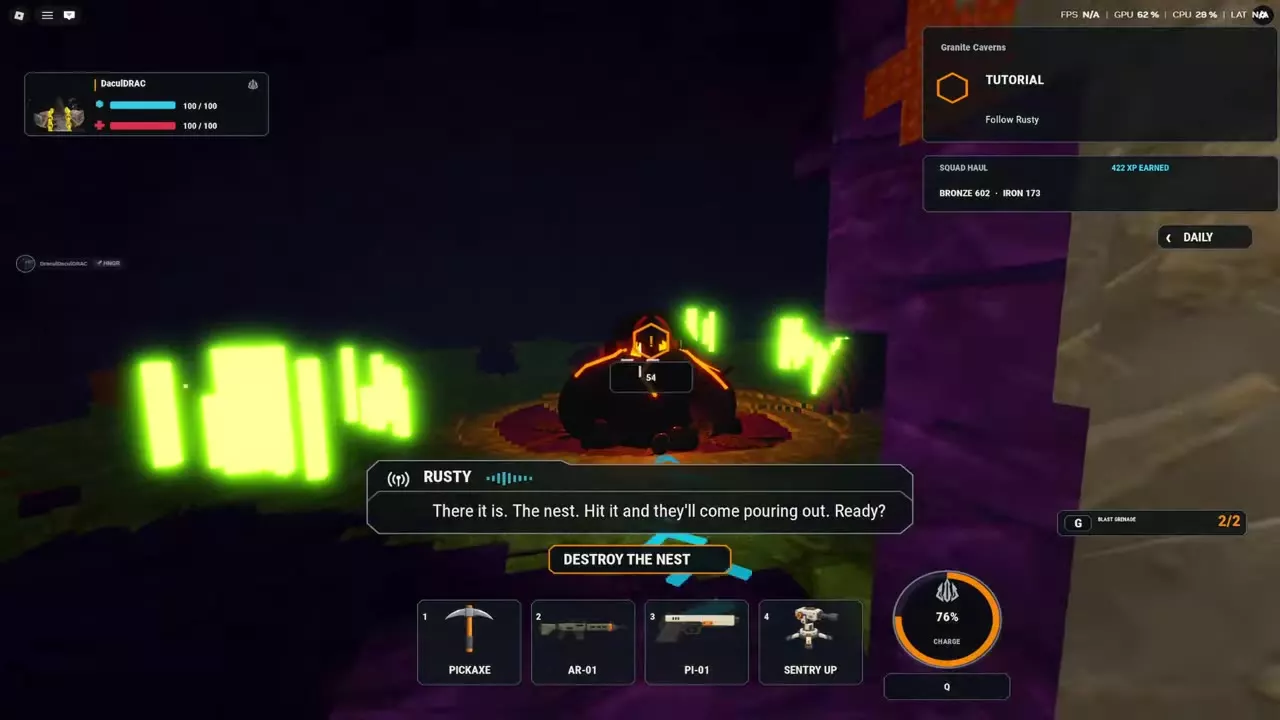
Destroy the Nest
- Break through the next dirt wall with the Pickaxe.
- Follow the blue ground arrows into the Nest area. Look for the large dark sac with glowing orange ridges beneath the objective marker.
- When DESTROY THE NEST appears, shoot the Nest with AR-01 or PI-01.
- Fight the bugs drawn into the encounter, then return your fire to the Nest. Continue until NEST DESTROYED appears.
Killing the surrounding bugs alone does not complete this objective. The Nest itself must be destroyed before the tutorial advances into the Brute encounter.
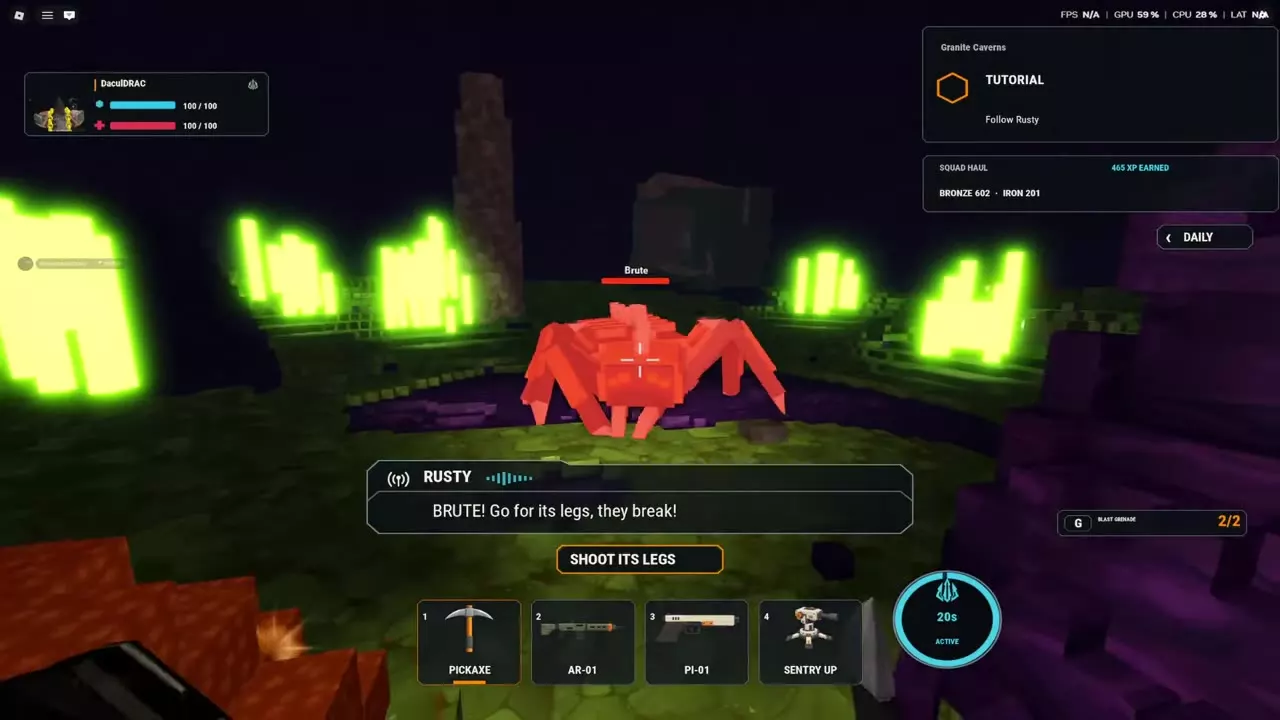
Shoot the Brute's legs
When SHOOT ITS LEGS appears, aim at the Brute's legs and fire. Its legs can be broken. Keep its attention on you while Rusty attacks from the side.
What happens to Rusty?
During the story sequence, the Brute pins Rusty down and your character shoots it off him. Rusty is still fatally injured: he says he cannot feel his legs and tells you to return to the pod along the route you came from. Command then reports that his vital signs are gone and orders you to extract.
Shooting the Brute off Rusty is part of this sequence; Rusty dies before your character leaves the cave.
Return to the drill pod
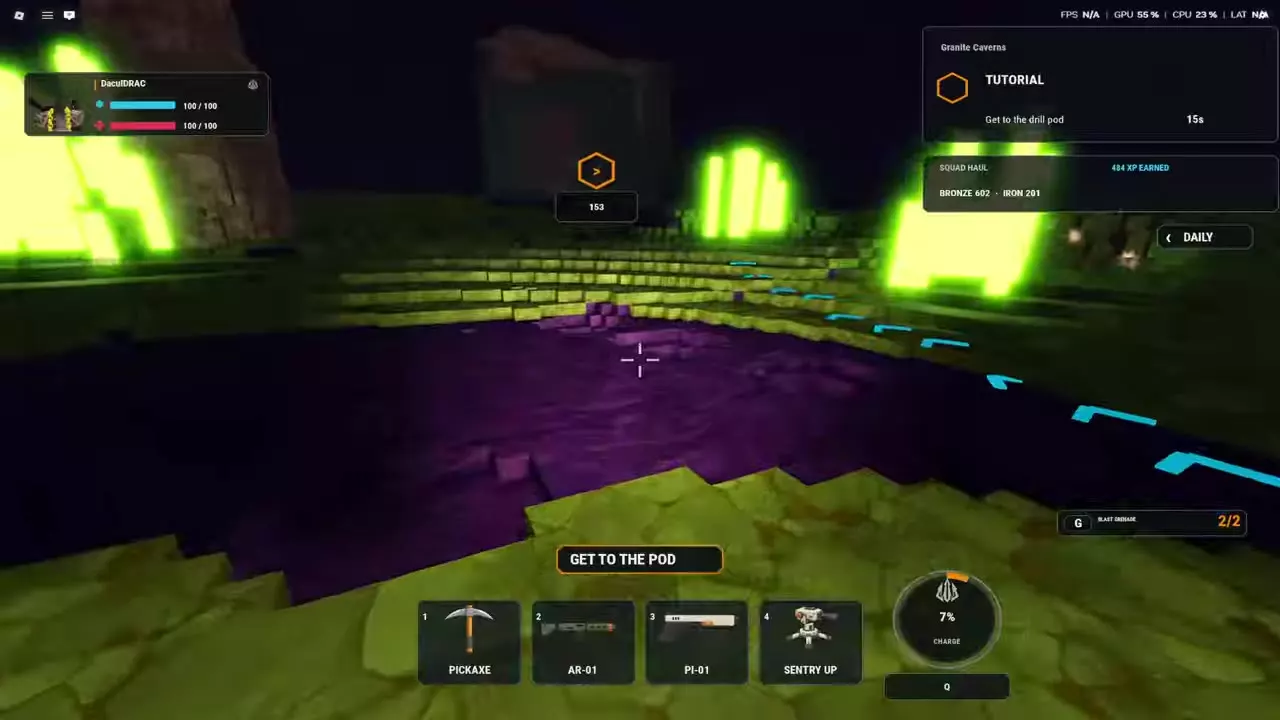
- After the story sequence, follow Get to the drill pod.
- Use the blue ground arrows and objective marker to retrace the route through the cave before the displayed extraction countdown expires.
- At the pod, wait for its doors to open, then walk inside.
- Let the departure sequence finish. You leave the tutorial cave and arrive at the depot lobby.
Your first expedition
At the depot, use the beginner guide to collect your first-drop rewards, prepare your starting loadout and choose your first mission. Use the depot guide to find the equipment stations, take the lobby tour and try equipment in the firing range before buying.