
Into The Hive Escort the Drill walkthrough
Last updated:
Escort the Drill alternates between defending a moving drill and clearing cavern nests. Keep your return route to the platform clear, respond to repair alerts, and finish both parts of the Brood Mother encounter before boarding the extraction pod.
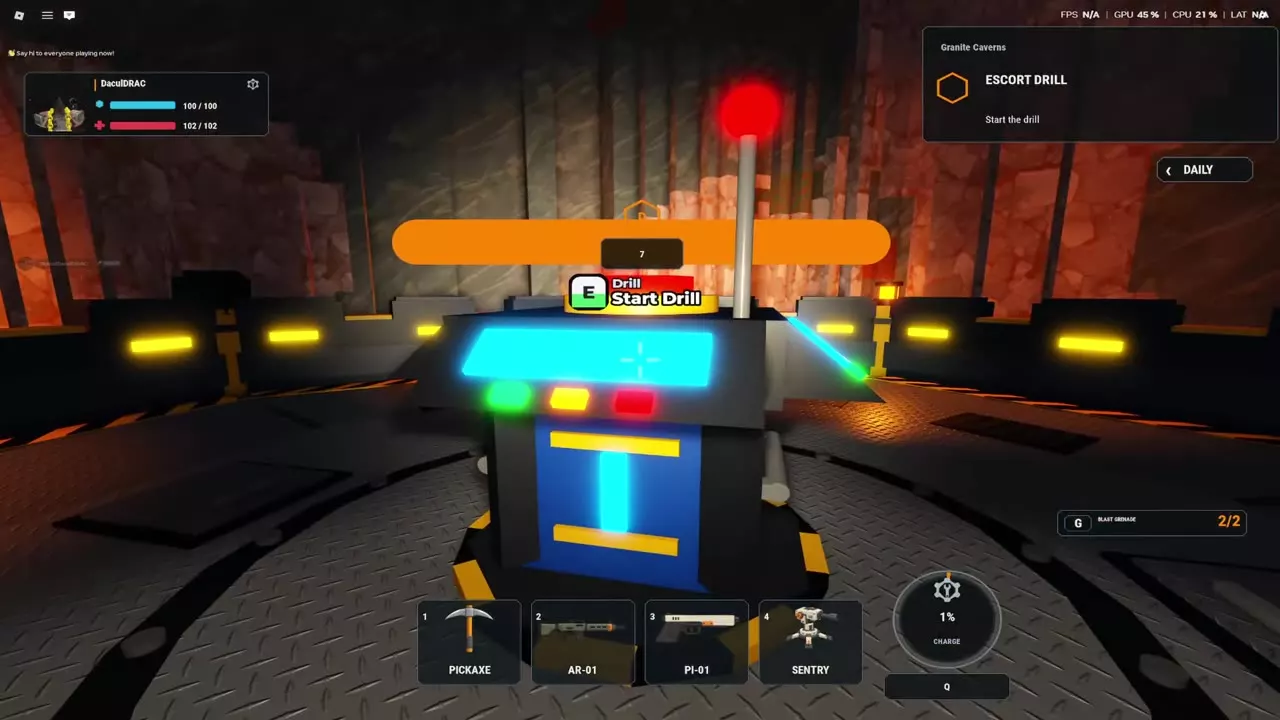
After ALL ABOARD, press E at the console to start the drill. Defend its platform, destroy the marked nests at each cavern, and return up the stairs when Get back aboard appears. If THE DRILL IS DOWN appears, repair its console and resume defense after DRILL REPAIRED. At the end, destroy the required nests and defeat Brood Mother. When THE DRILL IS THROUGH appears, enter the separate extraction pod and stay inside until Extracting.
Ride, defend and clear each cavern
Escort the Drill is available in every available layer and on Normal, Hard and Insane. Select the mission and assemble on the drill platform before starting.
The route follows a repeating cycle: defend the drill while it travels, destroy the nests required at a cavern stop, then return aboard for the next stretch. Handle any repair objective as it occurs. The final encounter requires both Brood Mother and her nests.
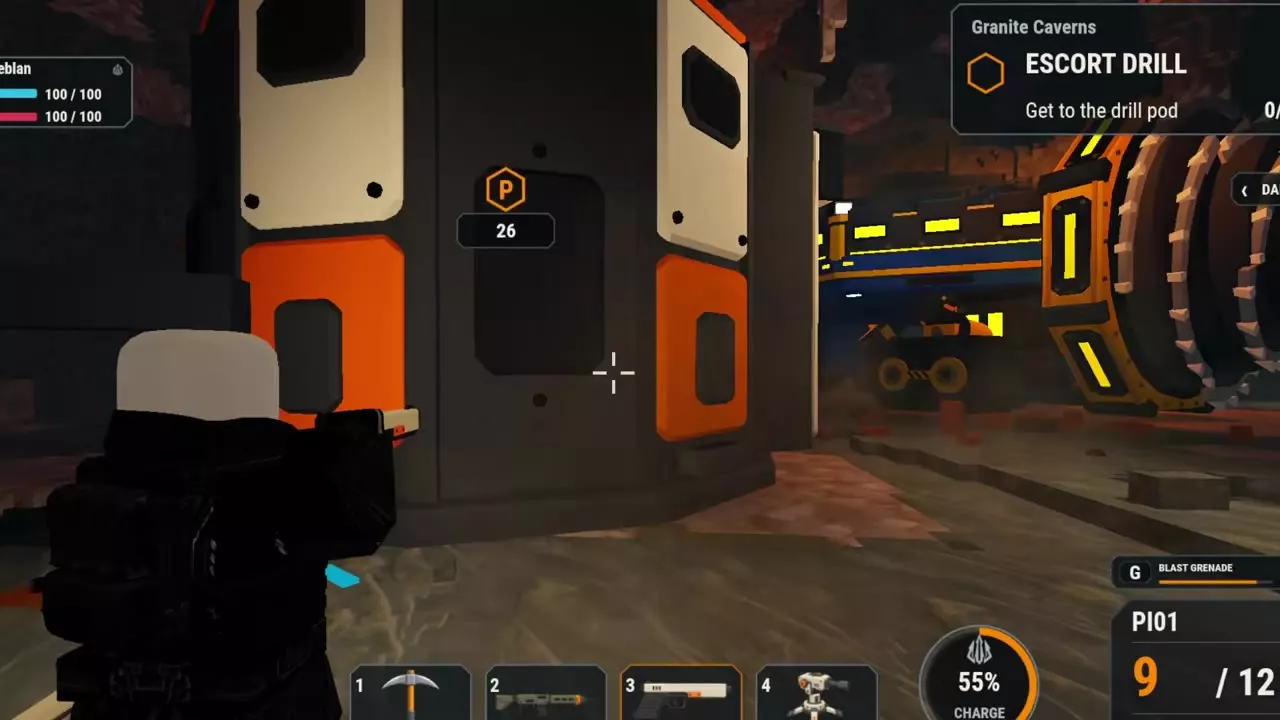
THE DRILL IS THROUGH marks the handoff to extraction. The objective changes to Get to the drill pod; you still need to board the pod to leave.
Prepare platform cover
Bring firearms for nests and moving enemies, a Sentry for automatic support, and a Pickaxe for obstructing cave terrain. An AR-01 and PI-01 provide a straightforward rifle-and-sidearm setup; the Sentry adds fire against approaching bugs while you aim or reload.
Place the Sentry on the drill platform during travel. At a cavern stop, position it near the fighting area to help control the brood while you attack a nest. Keep track of the stairs leading back to the upper platform so you can return promptly when the drill moves on.
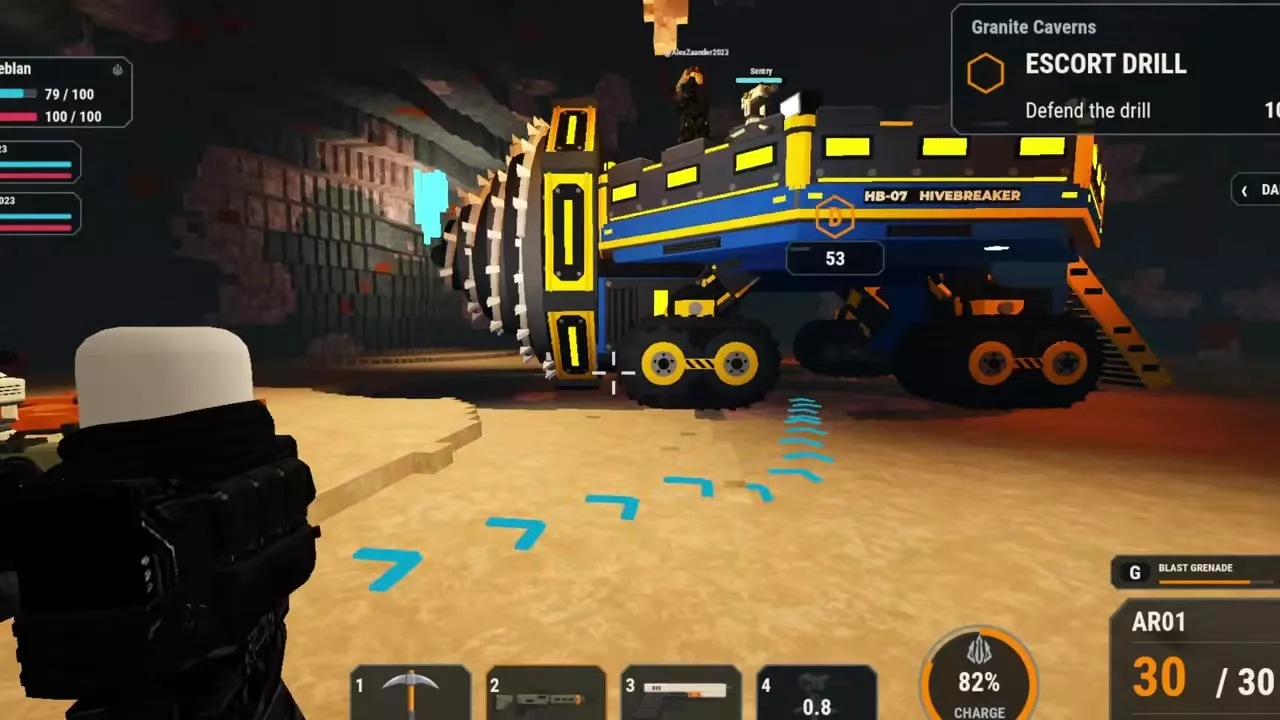
The large HB-07 HIVEBREAKER is the mission vehicle. It is separate from the handheld Drill equipment and from the extraction pod that arrives at the end.
1. Start and defend the drill
- Wait for ALL ABOARD, then approach the console on the drill platform.
- Use E — Start Drill. The active phase displays DRILLING, and the objective changes from Start the drill to Defend the drill.
- Deploy your Sentry on the platform, switch back to a firearm, and shoot bugs approaching the vehicle.
- Watch the platform edges and stairs as well as the surrounding cavern. Clear enemies that reach the platform and reload between attacks.
The percentage beside Defend the drill is the drill's status indicator, not drilling completion progress. Follow the objective changes and cavern alerts to advance through the mission.
2. Destroy cavern nests and return aboard
When CAVERN BREACHED appears, switch your attention to Destroy the nests and follow the nest markers.
- Locate a marked nest and attack it with your firearm.
- Clear incoming bugs while continuing to damage the nest. NEST PROVOKED warns that its brood is coming for you; use Sentry support to help cover the fight.
- Check the objective counter and move to any remaining marked nest.
- When THE DRILL IS MOVING ON and Get back aboard! appear, return to HB-07 HIVEBREAKER. Climb its stairs to the upper platform and resume defense.
In the Granite Caverns Normal route, the first cavern requires 1 nest, a later cavern requires 2 nests, and the final Brood Mother stage also has 2 nests. Use your current objective counter for the required total.
4. Defeat Brood Mother and destroy the final nests
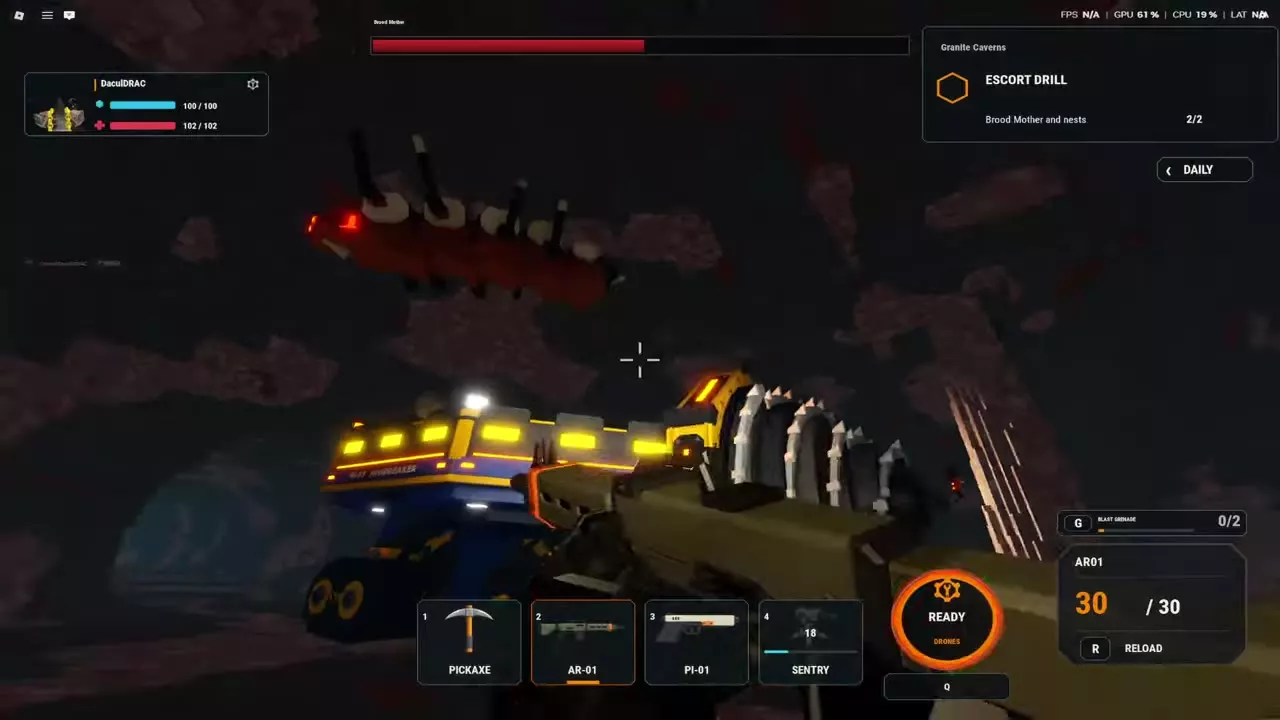
The Brood Mother and nests stage has two separate targets: the required nests and Brood Mother's health bar. In the two-nest Granite Caverns encounter, reaching 2/2 completes the nest count while the boss fight continues.
- Attack the marked nests and clear the brood approaching your position. Place a Sentry near the fight to support swarm control.
- Look above the drill to track Brood Mother as she moves through the cavern. Fire at her between reloads; AR-01 shots damage her and reduce the boss health bar.
- Turn to nearby bugs and Tunnel Diggers when they close in, then return your aim to Brood Mother.
- If your equipped ability is DRONES, press Q when it reads READY and continue firing during ACTIVE.
Keep checking both the nest counter and the boss health bar. After the final fight, watch for THE DRILL IS THROUGH and the extraction objective.
3. Repair a downed drill at its console
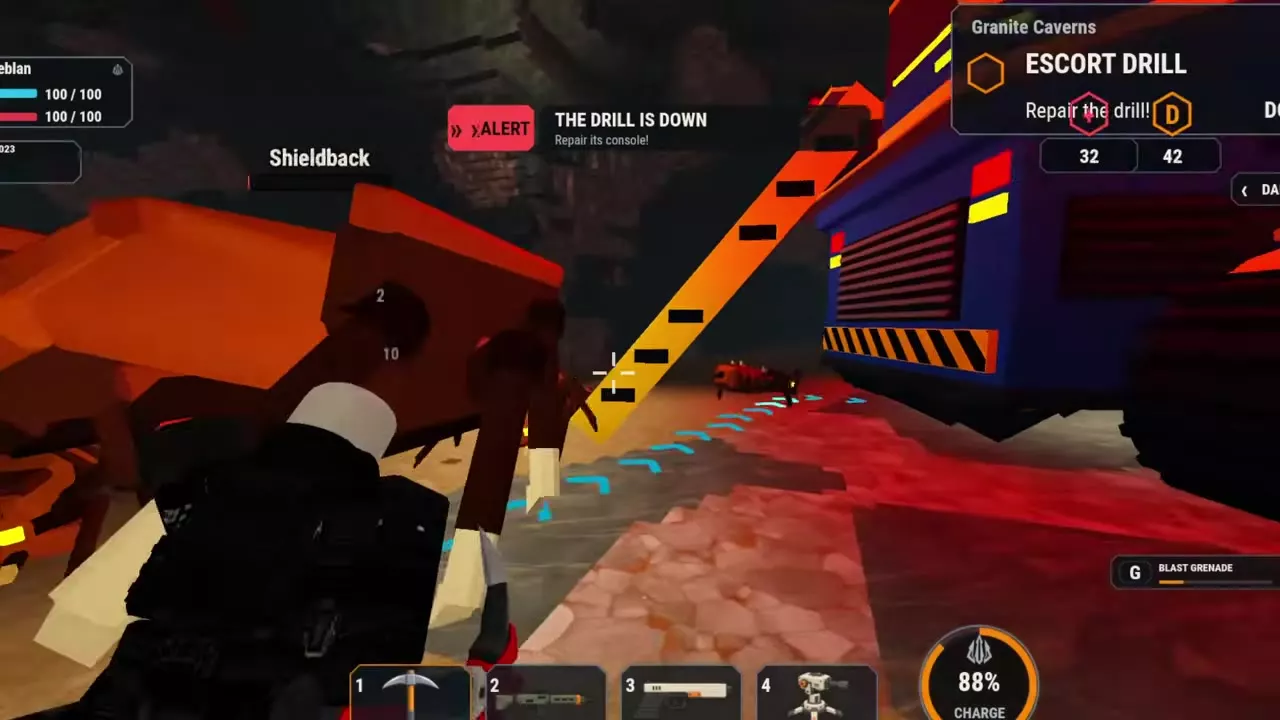
THE DRILL IS DOWN changes the objective to Repair the drill! and directs you to repair its console.
- Return to the drill and reach its console on the platform.
- Repair the console while continuing to clear bugs around the vehicle. In a squad, keep someone covering the approaching swarm while the console is being repaired.
- Resume the escort when DRILL REPAIRED appears and the objective returns to Defend the drill.
5. Board the extraction pod
When Get to the drill pod replaces the combat objective, follow the blue ground arrows and orange destination marker. Continue clearing bugs along the route and wait for the separate pod to arrive beside the drill.
Enter the pod when its entrance opens. Anywhere inside the cabin counts as aboard; remain inside through the GO countdown until the doors close and the objective reads Extracting. Keep firing at bugs approaching the entrance while you wait.
The HB-07 platform is not the extraction cabin. Board the arriving pod with orange seats to finish your departure.
Defensive equipment and mission rewards
- Deploy, move and repair utility equipment explains Sentry placement, relocation and turret repair.
- Boss loadouts compares sustained boss damage, swarm support and armor choices.
- How to extract covers blocked routes, boarding feedback and the Return to Lobby option when Complete Mission? appears.
- Mission payouts, first clears and weekly bonuses explains the reward categories and bonus conditions after extraction.