How to Deploy, Move and Repair Turrets in Into The Hive
Last updated:
Utility equipment supports your squad while you fight or mine. Equip a device before the mission, then place it where you need coverage.
To repair a damaged turret, pack it and leave it packed for 30 seconds. Moving it takes a 2-second wait and preserves its damage.
Unlock and equip utility
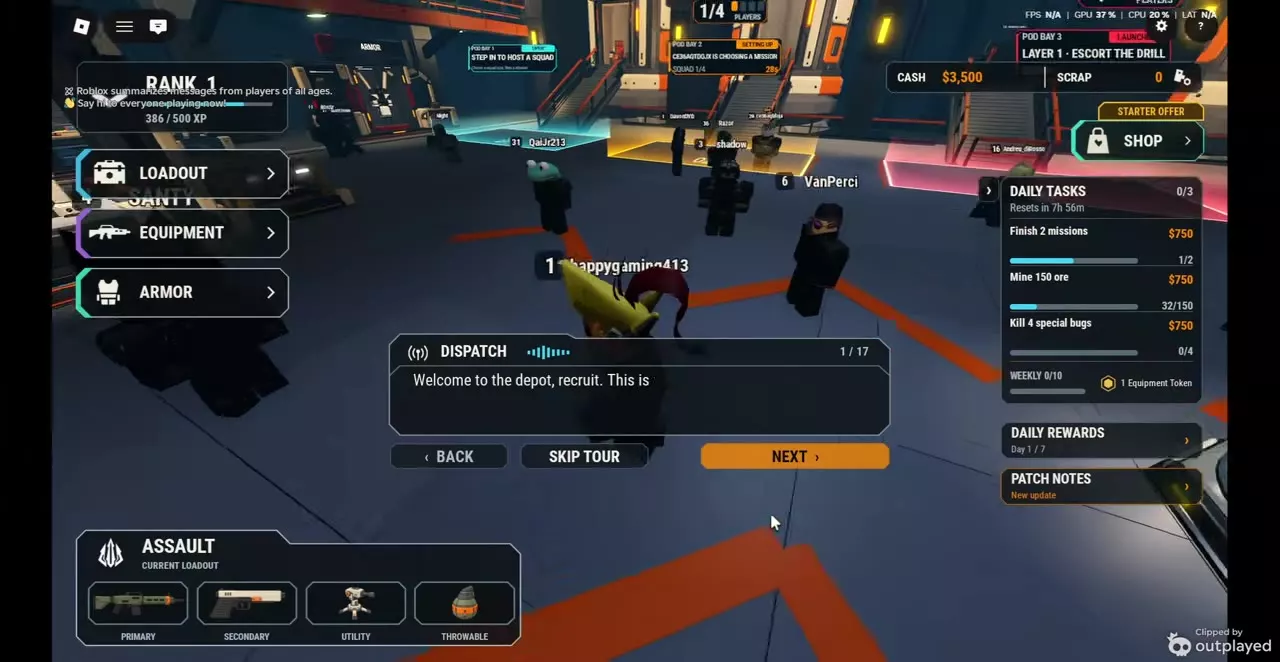
Open Loadout and select the Utility slot, or open Equipment → Gear → Utility. Select an item, unlock it if needed, and click Equip. It replaces the item previously equipped in that slot.
| Utility | Cash | Equipment Tokens | Robux |
|---|---|---|---|
| Heavy Cannon | 3,000 | 1 | 69 |
| Arc Tower | 7,000 | 2 | 129 |
| Dome Shield | 7,000 | 2 | 129 |
Choose one of the listed payment options to unlock an item. The Drill is equipped in the Demolition slot.
Place a device
With Sentry equipped, use the default controls:
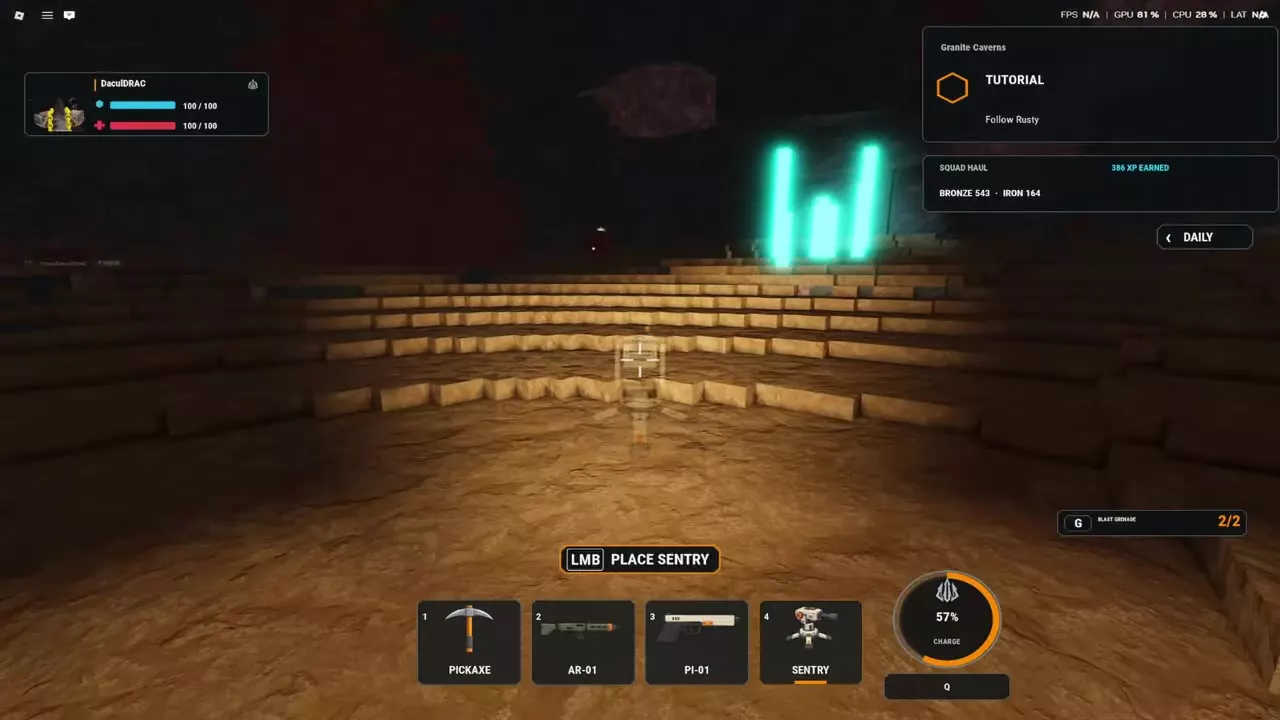
- Press 4 to select Sentry.
- Aim the placement preview at the ground.
- Left-click when LMB PLACE SENTRY is displayed.
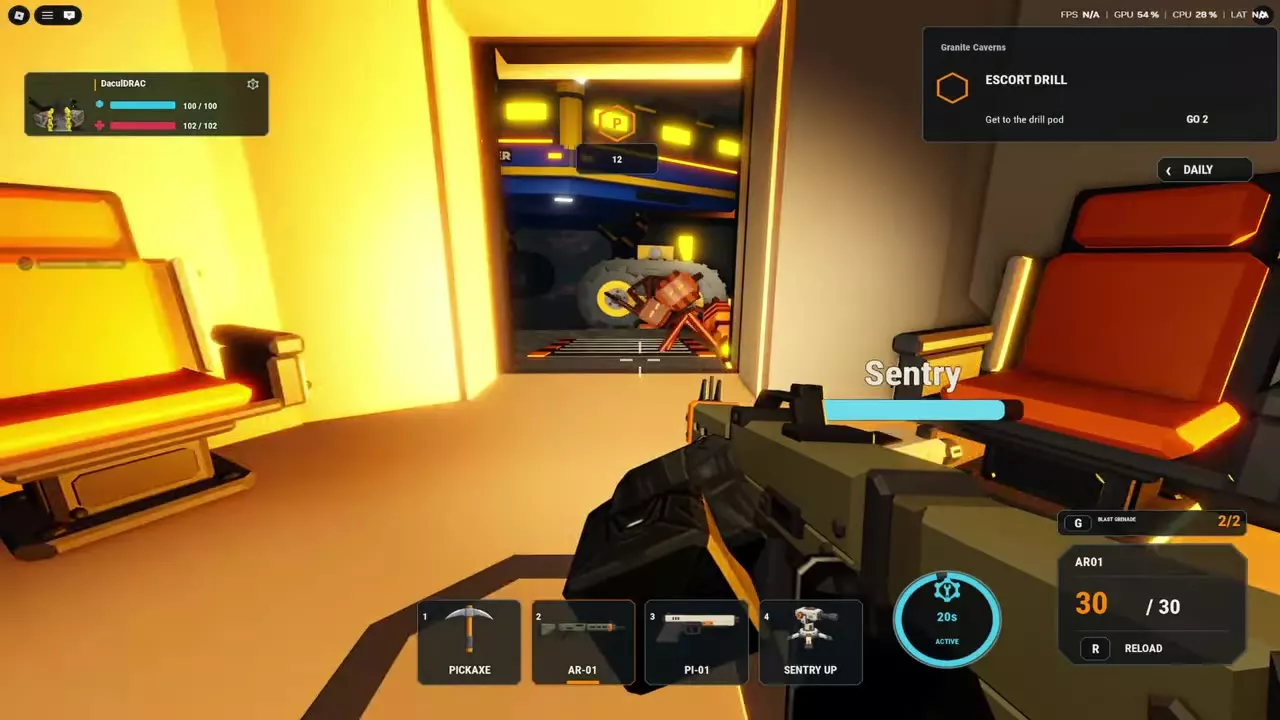
- Look for SENTRY UP in the slot, then switch back to your weapon or Pickaxe while the turret covers nearby enemies.
For Heavy Cannon, select slot 4 and position its ground preview. Once deployed, it fires at bugs while you use your weapon. Deploy Dome Shield from slot 4; its device stays on the ground and the slot displays a countdown. Switch back to your weapon or Pickaxe to continue fighting or digging.
Move and repair turrets
Moving a turret has a 2-second wait and keeps its existing damage. Use this when you need coverage in a new position quickly. For repairs, pack the damaged turret and leave it packed for 30 seconds before deploying it again. Moving it straight away does not repair it.
A turret left far behind packs itself automatically. With Twin Turret, the two turrets operate independently, so one breaking does not stop the other. Placing a third moves the turret nearest to you.
Placement feedback and layer health
If a turret cannot be placed, it remains in your hand and displays the reason. Read the message and choose another position.
Turret health increases with the cave layer: all turrets have 20% more health in Layer 2 and double health in Layer 5.
Utility stats and loadouts
Compare the available devices and their stats in Utility equipment. For a complete build using Dome Shield, see the solo Layer 1 Insane Nest Clearing loadout.